Home › Forums › Wooden Boat Building › Marty & Jack's build from CLC kit
- This topic has 36 replies, 5 voices, and was last updated 3 years, 5 months ago by
Marty Calon.
-
AuthorPosts
-
May 26, 2018 at 11:24 am #10154
CCWBRA Secretary
Keymaster(transfer from Groupspaces)
Marty Calon: My friend Jack and I just bought a CLC kit to build a Cocktail Class Racer, and another friend, Jim, will be joining us occasionally to build it and ride it. I thought it would be amusing for the members of this group to see the build, which will proceed whenever the weather is agreeable enough and we have time for it. We expect to be finished with it sometime next year. I’ll post here whenever we make some progress or encounter a problem.
If anyone wants to offer constructive advice as we proceed, please do. Jim and I have some experience building a CLC kayak, so we’re not completely new to this, but advice will be appreciated. We intend to incorporate the new modified keel, and we’re looking for a motor for it, so if you have one available, please let me know.
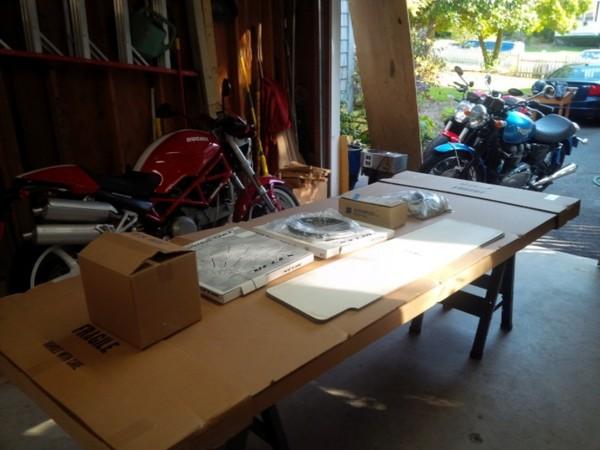
Here’s the starting point:
 May 26, 2018 at 11:28 am #10155
CCWBRA Secretary
KeymasterKim Granberry: Fun that you will be including the rest of us in your project. Where are you located and what type of engine are you looking for. Best regards for a successful outcome.
Marty Calon: We’re in Baltimore and Annapolis. We’ll need a 6-hp motor, beyond that we don’t know. We knocked together a 2 by 8 foot work table yesterday from a piece of scrap plywood and some 2 by 4s. We also decided the color scheme would resemble the the Ducati in the background, or at least be red and we’ll try to work in a white stripe. The deck will stay natural wood. All subject to change, of course! The next work session will be to build the stands for constructing the boat, maybe this weekend.
Stephen Brendlinger: Hi Marty, welcome to the forum, I hope you have a great experience building your boat. If you have questions, post them here and I am sure someone will help you out. Two warnings: #1 – these boats can be addictive. #2- there are unscrupulous persons associated with this club that will be happy to sell you a motor that runs great but is really, really slow. LOL
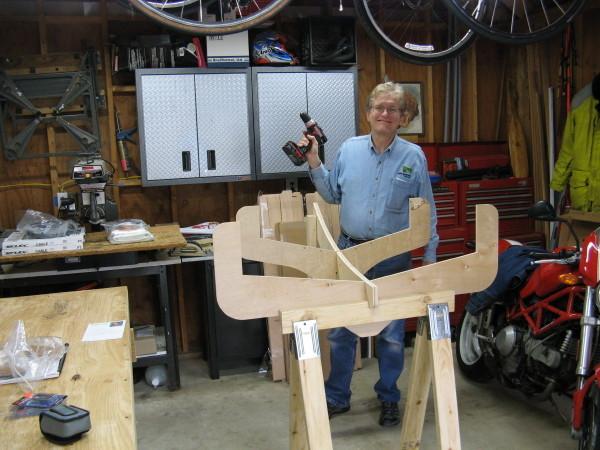
Marty Calon: Thanks for the warning, Stephen! We’ll make sure that we only get a fast motor! Today, we worked a few hours repairing Jack’s belt sander and setting up the building jig.
 May 26, 2018 at 11:30 am #10156
CCWBRA Secretary
KeymasterJim Schmicker: Hi Jack, As I am sure you know we have an active group here in Annapolis with eight boats. If you want to chew the fat about building one of the these boats just drop a message here in the forum. If you would like to see my boat (or any of the others) we can make that happen too. I hope you like sanding! Welcome aboard.
Marty Calon:
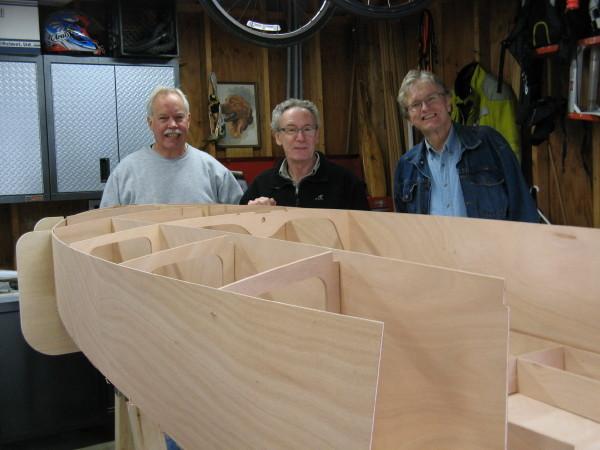
Here’s a post-holiday update. We did some more assembly before the holidays, more or less had to stop when the temperature started going below 60F due to epoxy considerations. Here are the three amigos, Jack, Jim, and Marty.
 May 26, 2018 at 11:33 am #10157
CCWBRA Secretary
KeymasterAfter the transom was laminated, it bowed out about 1/4 inch, enough that I was concerned about how it would fit. It’s been sitting on a board and weighted with four bricks on each end for about six weeks, to persuade it in the other direction. Today, we took off the bricks, and it’s now close enough to straight. The theory is that the uncoated back side (outside) of the transom absorbed more moisture during the recent humid, warmish weather in Maryland and expanded. It’s now colder and drier, which
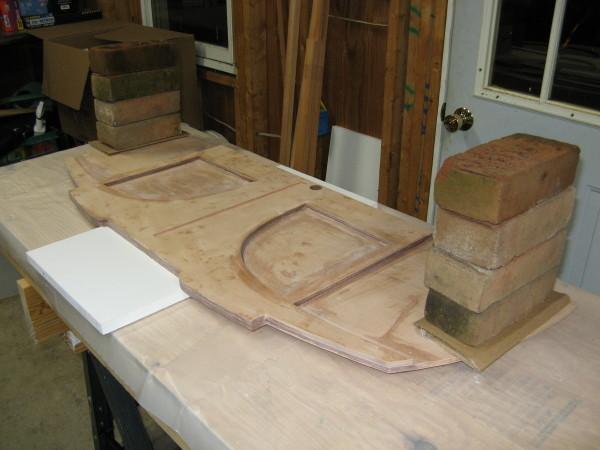 might have helped. Jack is going to coat it with epoxy (in the house), and hopefully that will stop the bowing.May 26, 2018 at 11:34 am #10158
CCWBRA Secretary
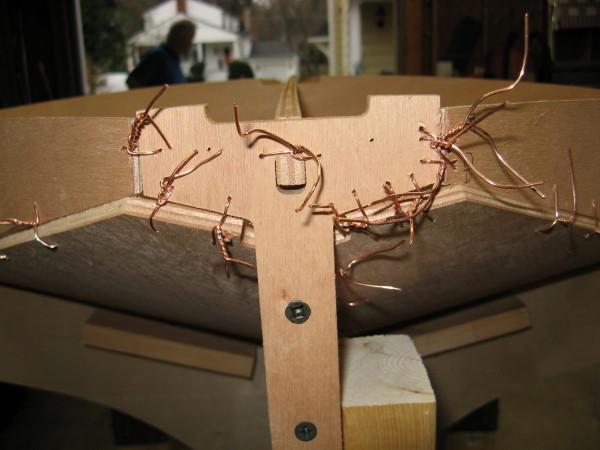
KeymasterHere are a couple shots of the heavily-wired bow. I think that the pieces are close enough in alignment that we can proceed. The hull separates about 3 to 4mm for a few inches at the front, but I don’t see any easy way to persuade it to come together. Epoxy will fill the void.
Comments on the adequacy of this assembly are welcome. Note that we have not yet started aligning and straightening the hull, which we’ll attempt after the transom is fitted. There are several areas where we’ve already removed and reinstalled stitches to get better alignment.
 May 26, 2018 at 11:35 am #10159
CCWBRA Secretary
Keymaster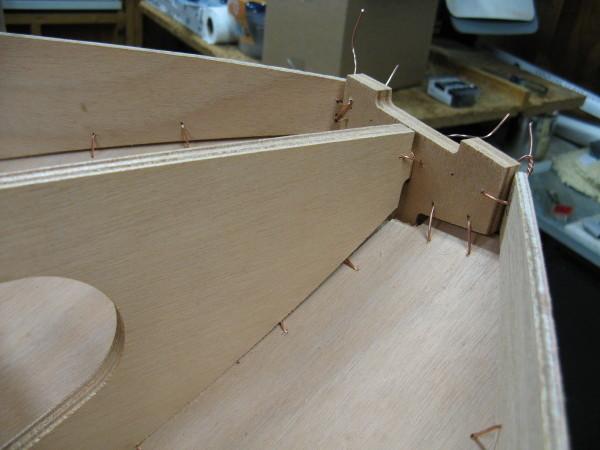 May 26, 2018 at 11:37 am #10160
CCWBRA Secretary
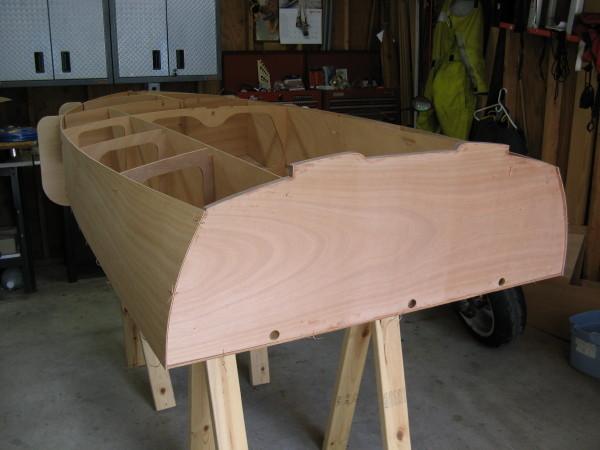
KeymasterWe finally resumed construction this past weekend. Stitching was checked and re-done where needed, and alignment was checked and looks good.
We stitched in the transom. It’s bowed out slightly in the center, as described earlier, but it’s nothing that some sanding or routering and epoxy can’t fix. I did a test fit of the transom brace and it’s a snug fit in its slots.
 May 26, 2018 at 11:38 am #10161
CCWBRA Secretary
KeymasterWe’re now doing the tedious job of filleting, fiberglassing and epoxying the 20 small interior sections inside the hull. Cutting out the fiberglass pieces requires care and patience because the cloth is so limp and the loose weave means that there will be loose strands no matter how careful we are. I cut out the patterns and the fiberglass cloth panels on my living room floor yesterday.
Marty Calon: We got about 40% of it done today, but I think that we made the epoxy fillets narrower than they should be. I might put a second layer of fillet on them for the next work session, or not. They’re certainly less that the recommended 1/2-inch width. Is it worth the trouble or should we just move on?
I’m glad that these sections will be enclosed and invisible, or nearly so. It’s a sloppy job between the loose strands of fiberglass and the expoxy, and it would have taken twice as long or longer to do it neatly.
No pictures today, not much new to see.
May 26, 2018 at 11:40 am #10162CCWBRA Secretary
KeymasterTodd Steffes: Hi Marty, it has been really fun to see your progress and the boat looks great! I do think it is worth taking the time to fillet the joints to the full 1/2″ as this is an integral part of the strength of the boat. My boat has taken a lot of pounding over the past six years, but she’s stayed very true in good part to the thick fillets.
Peter Urbani: Hello and Welcome Marty! I agree with Todd about fillets. Don’t be shy about adding as much strength as you can. Weight is not really an issue give or take a pound or so. Boats in the 110-120 lb range are still very fast. with a bit of wind and some chop on the water you want to be thinking about holding on and not “Sweet Jesus did I skimp on the Epoxy”? LOL
Marty Calon: Thanks for the input! We hope to resume work next weekend. It proceeds in fits and starts with our logistically-challenged arrangement, but it will eventually be finished. I’ll plan to reinforce the thinner fillets, and make sure that the rest of them are wide enough. I’ll also take some pictures and post them in my next message. Unfortunately, I’ve not been able to attend any of the races and meet some of you due to work schedule and other conflicts.
May 26, 2018 at 11:47 am #10163CCWBRA Secretary
KeymasterMarty Calon: We got back to work the weekend before last, only to find out that the pump for one of the epoxy components was broken. That was the end of that work session until Jack got a replacement from CLC in Annapolis. CLC sells the epoxy pumps (the pair) as a separate item, so no worries there.
This past weekend, we resumed working on the fiberglass bottoms in the tanks and under-floor sections, tedious, messy, and fortunately will be completely covered. To do a neater job would require spending at least twice as much time on areas that will be completely or mostly hidden, and we’re not making fast progress as it is due to the usual scheduling and weather conflicts.
The temperature inside the garage, even with the door open, was in the mid-90s. I had been worried that this might be too warm to allow good working time for the epoxy, but with small batches and fast and sloppy application, and four hands working on it, it was not a problem. We got at least 15-20 minutes from each batch, and we didn’t waste any of the precious stuff. Overheating of and dripping sweat from the boatbuilders was a bigger concern!
This friday, forecast for sunny and 80 degrees, we’ll continue with the same task.
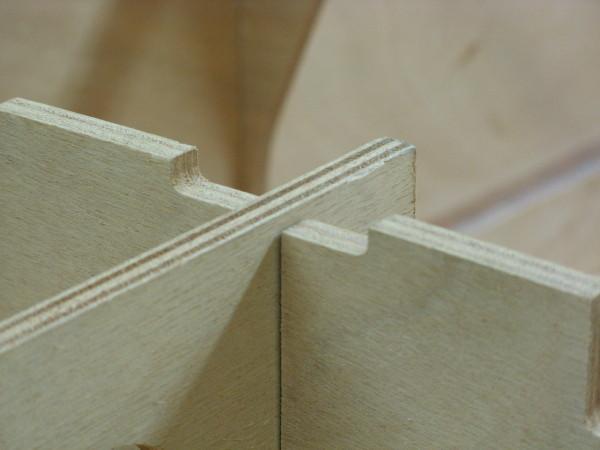
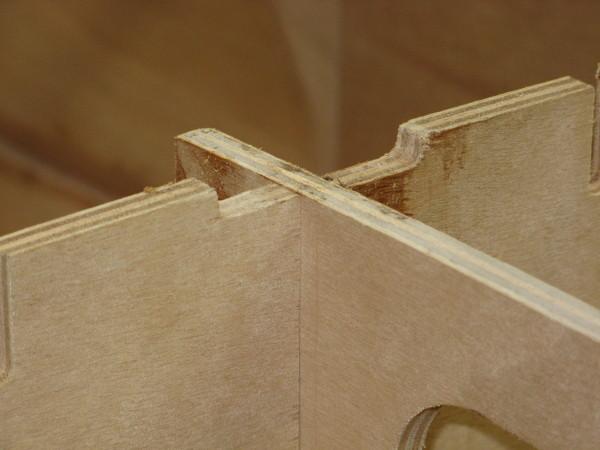
Here are before and after shots of the joint at bulkhead 3. I spent some time grinding and sanding it down so it would be flush, as pushing it down any farther would have required more muscle and weight than we could muster. This is the part that pulls the bow up into place, so there’s a lot of tension on it. The instruction manual shows the same slight misalignment, so we’re in good company.
Before:
After:
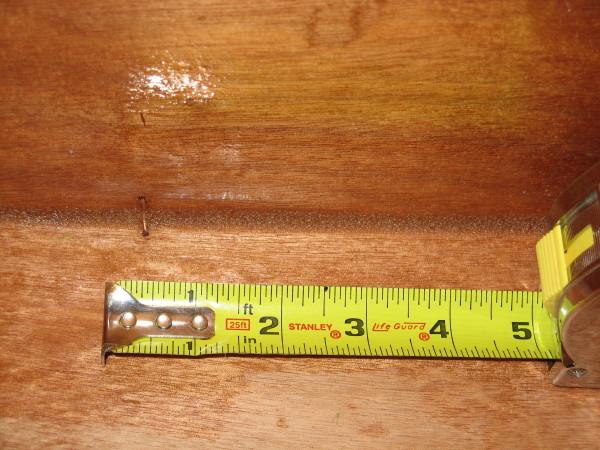
Here is a photo of a “before” narrow epoxy fillet, which will be revised with more epoxy:
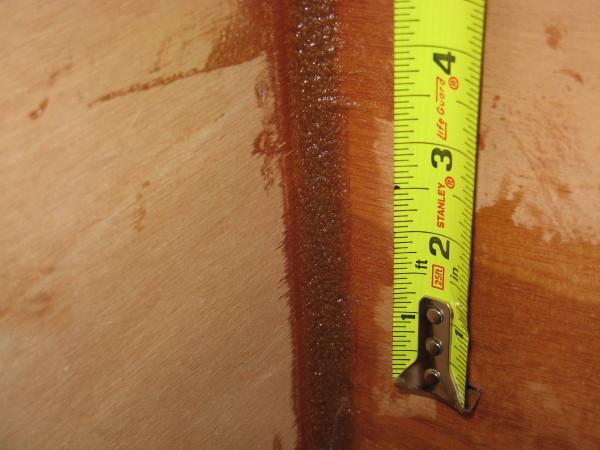
Here is a photo of one of last weekend’s fillets, much thicker:
 May 29, 2018 at 2:09 pm #10185
Marty Calon
ParticipantHere we are again, after the web site change. Jack and I have done the following:
- Installed the transom brace.
- Built up the fillets in the the hull as described above.
- Fiberglassed the exterior of the hull and the transom.
- Installed the keel according the current requirement (12 inches short of the back).
- Installed various brackets and deck braces in the front.
- Extended the carlins with short pieces between frames 2 and 3. If we did it again, we’d notch frame 3 and extend the carlins as single pieces all the way to frame 2, but doing it with short pieces is still better than not doing it. It’s more support for the deck.
- Installed the side rails.
- Tidied the nose of the boat where the rails meet.
- Epoxied and installed the cockpit floor.
- Filled holes and epoxied various areas that need it before they are covered by the deck.
Some comments below. I did not take photos because this thread had disappeared, but I will take some photos and post them here later.
The front (curved end) of the keel was difficult to do, requiring some brute force to hold it in place while the screws were driven. Then some of the hardened drywall screws broke off at removal because I had pre-drilled the pilot holes for them and they were now solidly epoxied in place. Luckily, they broke off deep enough that we simply filled the holes over them with epoxy. With the wisdom of hindsight, it’s good that we used hardened drywall screws, which will break before they bend or deform.
I came to the idea to extend the carlins late, thus the short pieces instead of extending them. It’s noteworthy that the kid contains long-enough material to extend them to frame 2 as a single piece on each side.
Installing the rails neatly was also a small challenge. In the end, they look good from the top, although the two strips don’t align with each other exactly on the bottom edges, being off in some places a millimeter or so, but those edges aren’t visible, so no worries about that. The rail pieces as received in the kit were not completely straight, which led to difficult alignment at installation. Lesson learned is that we should have aligned the pairs by feel on the bottom edges and ignored the alignment at the top, which is trimmed anyway to receive the deck.
At the bow, we tapered the rails somewhat, rounded them on their ends around the front, and filled in gaps and corners with epoxy. Following the advice in the manual, we had rounded the bow block before the rails were installed; although the manual did not say explicitly to do this, it implies strongly the the bow should be rounded for safety. This left us with a small “hole” where the rails meet, which we filled with epoxy. I think that it looks good at this point, and we have verified that the deck–just barely–covers it.
At this point, we are low on epoxy with much work left to do, so I ran down to CLC last week and bought more, 1 gallon of resin and 1/2 gallon of hardener, and a pair of pumps. We’ve had to change out the pumps a few times as they gummed up and ceased working efficiently.
August 1, 2018 at 3:01 pm #10363Marty Calon
ParticipantHere are some photos of the above-mentioned work.
The transom brace. After hearing some stories of how the brace has become disconnected on some boats, today I added two large flathead stainless steel screws, about #12 x 2 inches, from the back, near the top of the brace. They are countersunk about 1/8 inch and the hole will be filled with epoxy. I don’t know how much this will strengthen the arrangement, but it can’t do any harm:
An overall shot of the hull with deck pieces sitting on it for test-fitting:
The bow and tapered keel. The rail height is tapered somewhat toward the bow, but it’s not noticeable in this picture:
The keel had to be tapered more abruptly than we would have liked, because of the broken-off screws mentioned in the previous post. We had to leave enough wood to “bury” the screws under some epoxy:
A view of the trimmed outside rail from the back:
A view of the bracketry for the steering mechanism. The vertical piece in the center was installed with epoxy and a stainless steel screw in each end to hold it in place until the epoxy set. I countersunk them and filled the holes. All the notched areas for the deck splice plate had to be heavily cleaned and trimmed to make a good fit:
We decide to add wood strips (leftover carlin material) to the frame behind the bow. This is to provide additional strength for the bow handle that will be screwed into this area. As a bonus, it also provides more mating surface for bonding the deck:
I started another discussion about installing the deck, whether to do it as a single piece per the kit instructions, or one side at a time. After much discussion, we decided to do one side at a time. After some test fitting and alignment, we epoxied the splice plate to the left deck half:
We spent a few hours today discussing and setting up for the deck installation. We’ve coated everything that’s going to be covered by the deck with epoxy, as well as the undersides of the deck pieces. Jeffrey has generously given us a large box of his custom PVC clamps and we dry-fitted the left deck half today and clamped it. It looks good for fit and alignment. Jack will vacuum out and clean up the spaces that will be covered permanently, and we’ll resume construction in a few days.
August 5, 2018 at 4:11 pm #10400Marty Calon
ParticipantLeft deck half was installed today without any surprises or problems. We used the strip of wood on the cockpit side to reduce the number of screws and provide more even pressure along that side. It’ll come off in a day or two:
Here is a shot of the two screws I installed at the upper end of the transom brace:
It looks like it’s almost ready for a day on the Bay:
August 12, 2018 at 1:50 pm #10454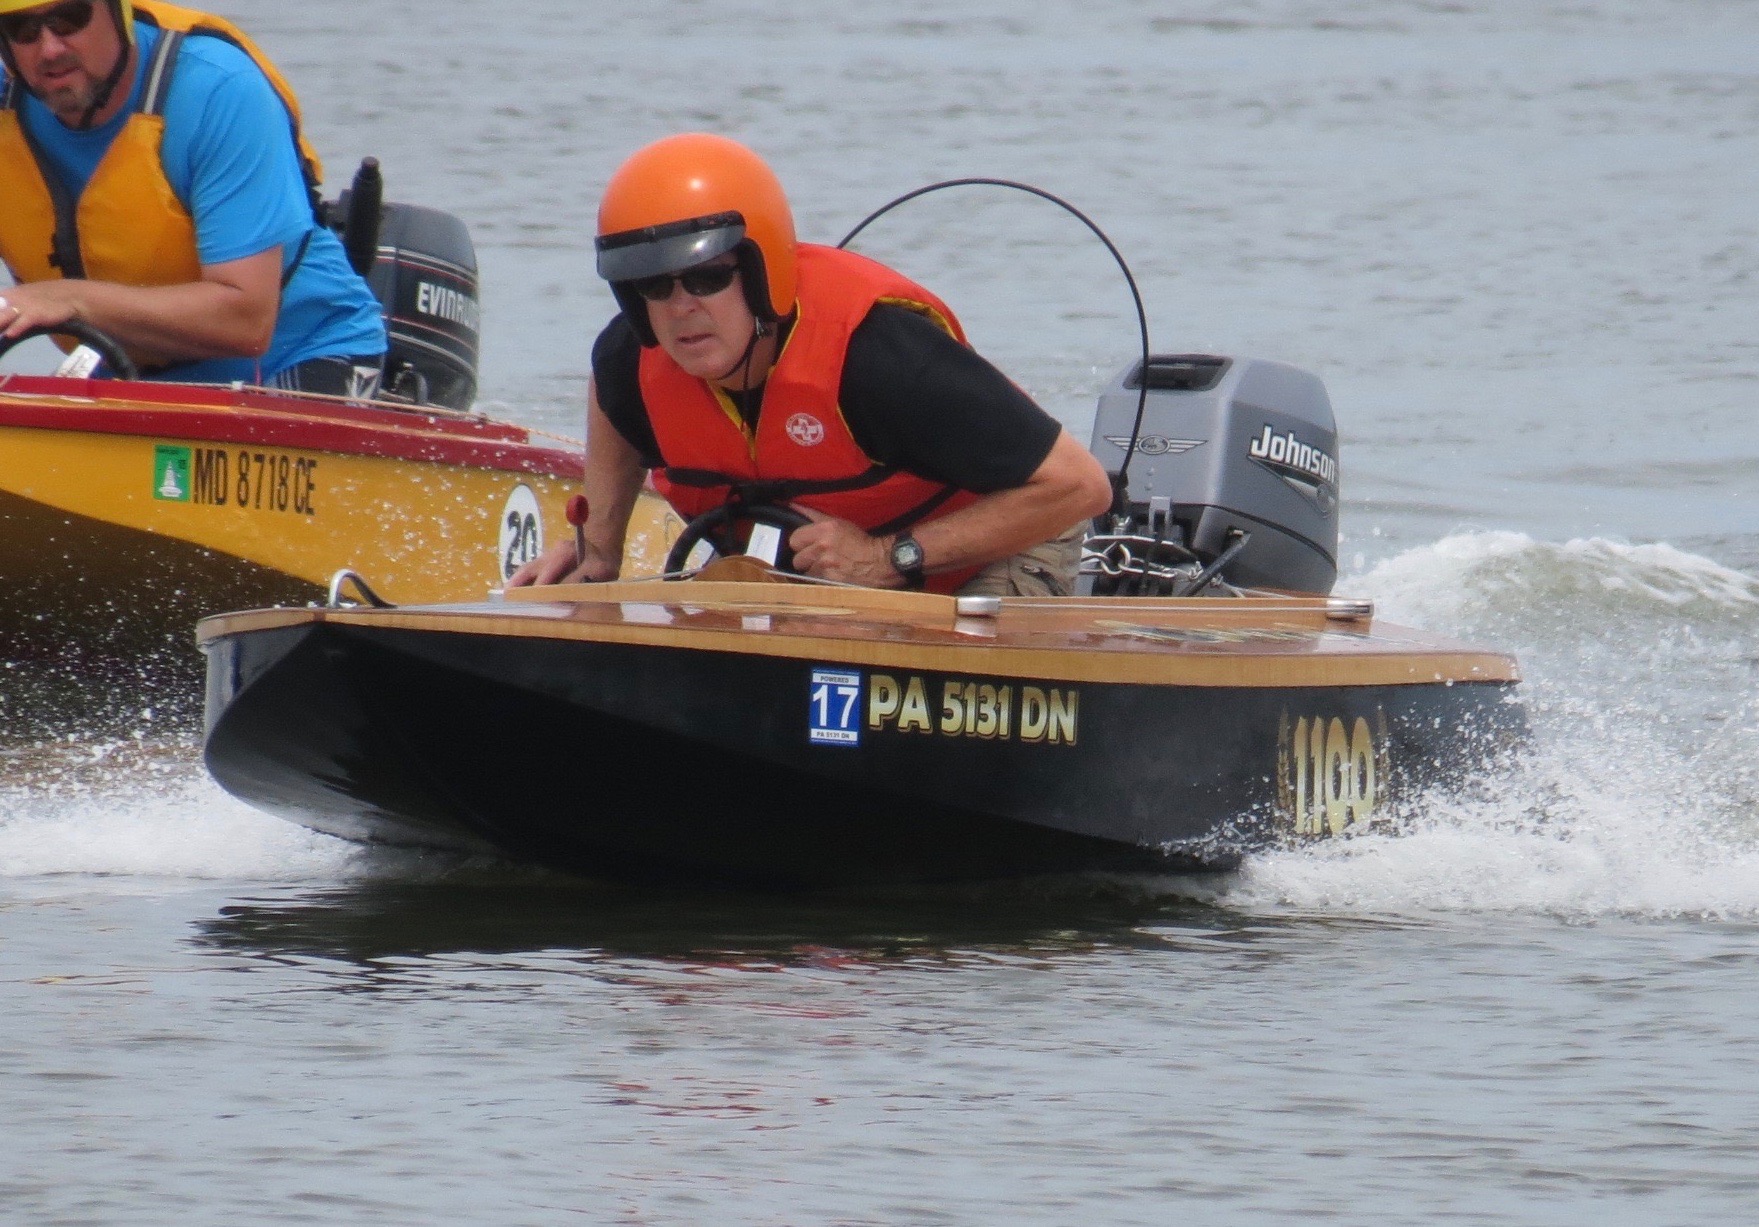 Jeffrey WeeberParticipant
Looking good Marty. I’m not sure that I ever saw a lawn chair on a Skua, but it is a nice addition!
August 13, 2018 at 1:17 pm #10471Marty Calon
ParticipantWe’re currently trying to decide when to install the bow thruster controls, probably later when the other controls go in.
We forgot to obtain and install the deck plate in the hole up front, wound up looking all over for it when it seems that we didn’t actually buy one at all. I’ll get one and do it before the right deck goes on. It’ll be a more tedious job that way. At least we still have some access from the right side.
We have an issue with the cockpit sides. They’re not straight, especially on the left side. Most attention during construction was directed toward the outside lines, and, not having built one of these before, we didn’t pay much attention to the inside lines. Luckily, they curve slightly outward, so we can work around that.
The intention is to install the cockpit rails straight and where they should be, not just for appearance but because they need to meet up nicely with the rail section that goes across the front.
I think that the rear half of each cockpit side is straight enough to trim the deck flush to it, but the front half will need more work. This means that the deck must be trimmed to result in a line that is in the correct place, resulting in some deck overhang over the cockpit sides.
The rails will “float” on the edge of the deck and have to be secured in place, maybe tacked with some epoxy, a corner clamp, whatever else we can figure out, and then we’ll set the boat on its side and fill in the gap behind each rail with thickened epoxy.
I intend to figure out the line where the left deck should be trimmed and do it before we install the right deck. This way, we can test-fit the rail pieces properly, so we know exactly where to trim the right deck after it’s installed.
I’ll take some pictures of this process and post them after we do it.
-
AuthorPosts
- You must be logged in to reply to this topic.
