Home › Forums › Wooden Boat Building › Cockpit layout & reinforcement for fittings
- This topic has 14 replies, 11 voices, and was last updated 3 years ago by
Andy Stinson.
-
AuthorPosts
-
February 19, 2020 at 9:10 am #12631
Scot Brown
ParticipantHey gang! Looking for opinions and advice on cockpit layout so I can reinforce tank sides before deck goes on. This is my first powerboat so this area is full of unfamiliar gear.
I’m thinking the CLC steering kit doesn’t go through the tank sides (except into carlins). So no reinforcement there.
I’ll back up a few spots to screw the paddle keeper on. I like the look of the bungee cord style keeper and a collapsable paddle. Any preferences here?
I haven’t made a decision yet on engine, so control box and cable keepers will need to be laid out and reinforcements added inside tanks. I got a tip about adding a 4″ inspection port below the control box so it can be through bolted, which I like.
Last item I think is fuel tank tie downs. I’ve already put the cockpit floor down with no reinforcement. I’m thinking any attachment points will go on the transom or the tank sides. I would love to hear how you all do that.
I’ll try to get to Allentown to get a look at some boats first hand, but I’d like to get the deck on well before that. So what do you like about your setup, and what would you do differently if you had full access to the side tanks again?
February 19, 2020 at 8:55 pm #12642Vandall
ParticipantBe sure to add a piece of wood on the inside big enough for the control box to screw into.
Make certain the back 18 inches of the bottom are perfect or boat will hobby- horse.
The transom bracing is not sufficient, so leave the screws in the bottom and in the transom: Use lots of filler in the transom angle and add 1 3/4 inch aluminum vertical supports in the verticle angle.
Don’t carry the motor on trips attached to the transom.
See you at NSB
Frank 112February 20, 2020 at 4:30 pm #12643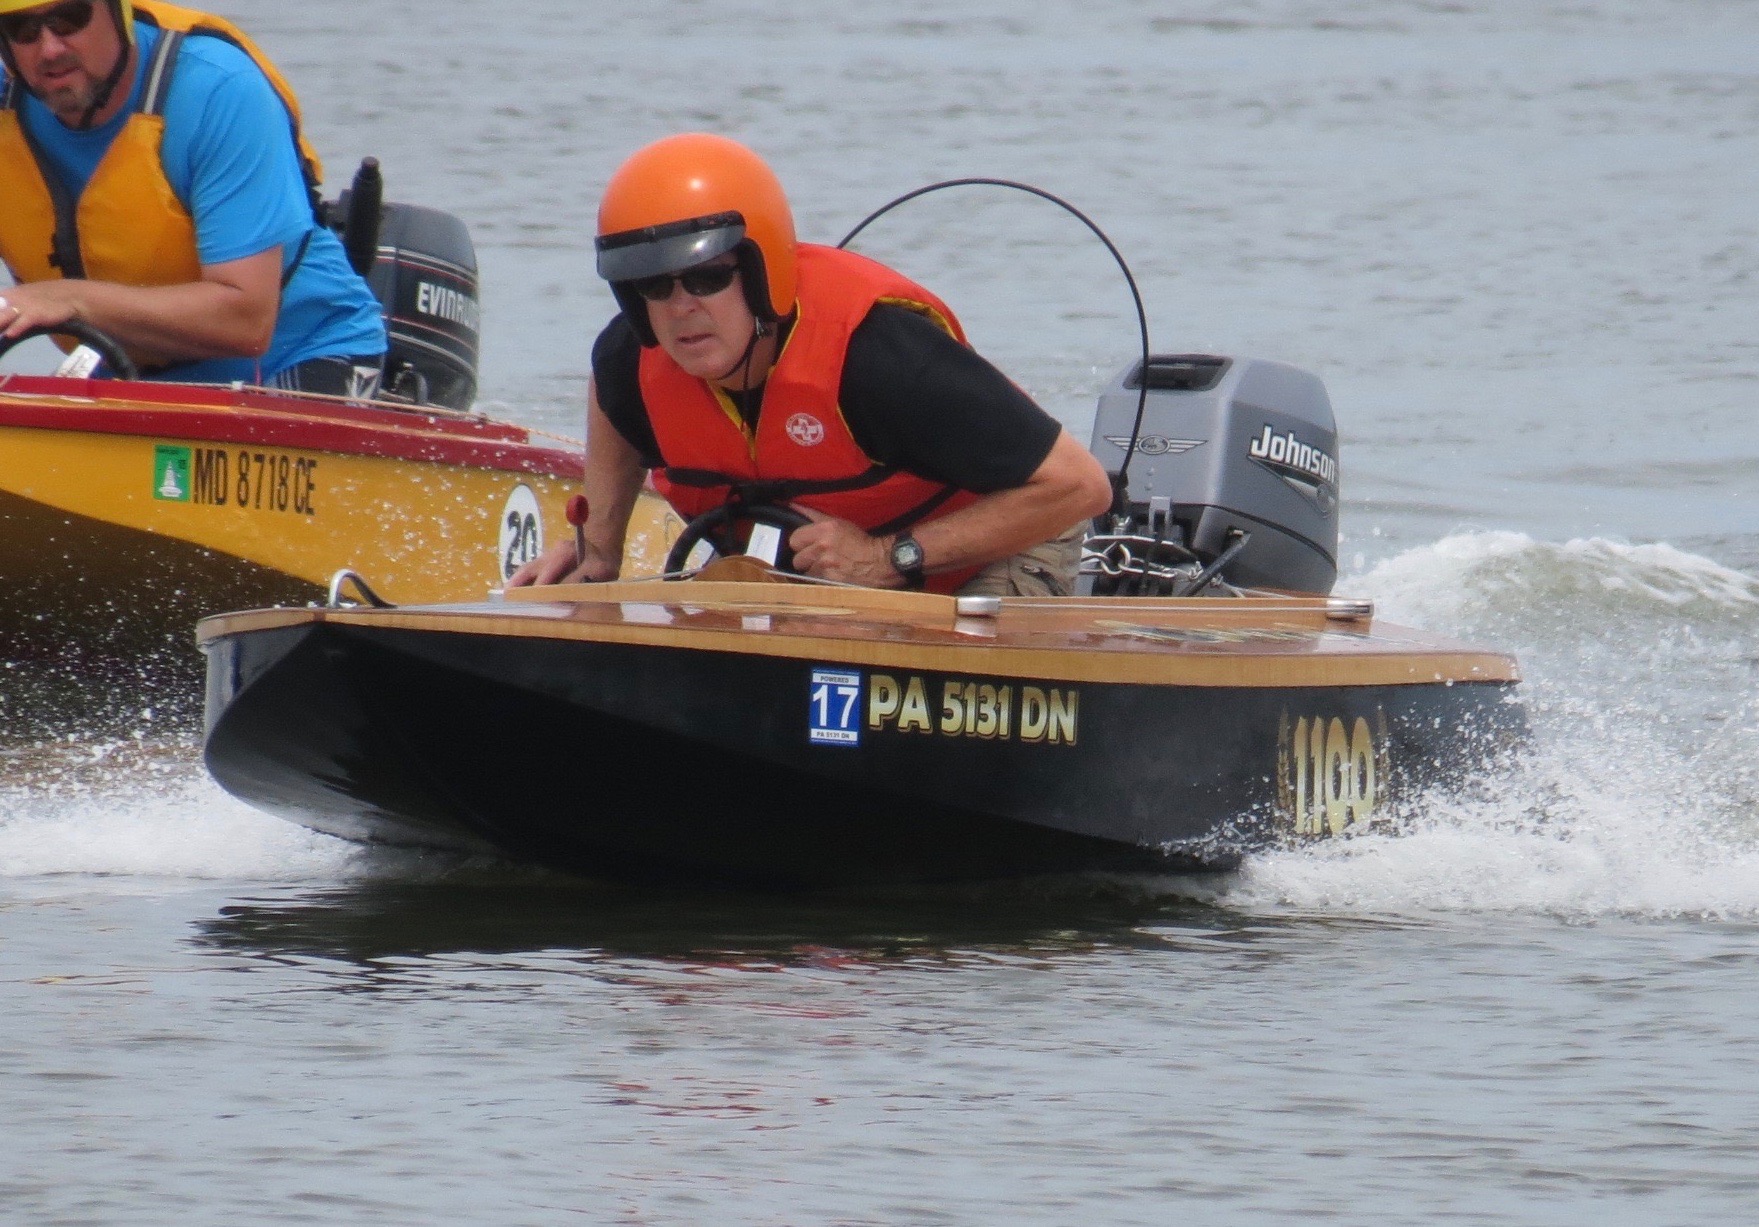 Jeffrey WeeberParticipant
Hi Scot,
I did not hesitate to screw through the cockpit sides of the side tanks, or the floor for that matter, because I was going to plug the holes with screws or bolts. I have not yet flipped my boat, not that I haven’t tried (my friend who helped me to build my boat says that if I have not yet flipped I must not be trying hard enough), but I figured that if/when I flip the boat will not be in the water long enough to be compromised, even if it does take on some water. Steve Brendlinger’s boat got a fairly serious puncture in it’s side at Lehigh a couple of years ago and I ran 2 races in it before we figured out that it was punctured. So I would not be too worried about screwing into the tanks.
I did a bungee style keeper for my paddle. I run the fuel line from the tank, which resides in the forward hold, through the same bungees that hold the paddle to the tank to the motor, in order to keep the fuel lines contained while the boat is in use.
For the control box, I am lazy and want quick motor swaps, so I attach a control box to each motor. I backed the tank with 1/4 inch marine plywood and then put in threaded inserts so that I can use a bolt with a knob grip to tighten the control box to the tank side.
As for the tank, I backed along the center line (what I think would be called the inner keel) in the forward hold. and then screwed straps into the floor in that area to hold down the tank.
I’m not sure if this post helps you, but I hope that it give you some useful info. The great thing about Cocktail Class is that ever builder approaches his/her build differently, and there is not necessarily a right way to do things. It is great to see what comes out of innovative minds!
February 21, 2020 at 8:16 am #12645Scot Brown
ParticipantThanks for those replies Vandall and Jeffrey Weeber!
I have no problem putting a hole in the tank side, just want to reinforce the spots where I’m screwing stuff (while I still have no deck, hopefully just a week or two more at most).
I don’t have a control box (or motor – thinking about the Tohatsu) yet. Are the boxes mounted on standard dimensions? I love the idea of the threaded inserts (to avoid an inspection port to get to nuts on the inside). Did you use a T-nut style during construction, or an insert you screw in from the front? What is the size of the control box, or the size backing I’ll need to mount the typical boxes?
February 21, 2020 at 5:23 pm #12646 Jeffrey WeeberParticipant
Hi Scott,
I used an insert that was screwed in from the inner side of the tank. I think that they are brass fittings, and I think that I got them at a big box store so they should be readily available.
The control box I use is a Uflex box, and I believe that it will work with any motor you may want to run. They are considerably less expensive that the proprietary control boxes that you would buy from Tohatsu or any other original manufacturer equipment. The cables are easy to get too. A phone call to Uflex and they will tell you what cables you need to order for your motor. Here is the link to the control boxes on the Uflex site: http://www.ultraflexgroup.com/en/catalogue/two-lever-controls/08a08c-1/883/two-lever-side-mount-controls.html?lang=2. There is a PDF with the dimensions on the web page. Below is a photo showing several boats with the Uflex box mounted. I hope that this helps.
March 23, 2020 at 7:52 pm #12694 fallertonParticipant
Hi Scott,
Not exactly a cockpit item, but be sure to reinforce with backer layer for bow handle (under deck) and transom handles (within tank).
October 15, 2020 at 8:05 pm #12821Marty Calon
ParticipantWe’ve finished construction of our boat, but we’re concerned about the strength of the transom brace and wonder what other owners have done to reinforce it.
Unfortunately, this occurred to us after the fat epoxy fillets were applied to the brace, so there’s no room to install hefty metal angles as some of you have done. Any ideas for that, short of grinding out the fillets?
Also, Jeff Weeber, could you describe your solution with the 0.25 inch aluminum plate on back? Will that prevent separation of the transom brace, or does it serve a different purpose? We can easily install a 12 x 12 inch plate on back if it would help.
October 25, 2020 at 1:05 pm #12636TX_Spencer
ParticipantScot, I made a few videos of my build, I copied links below. Hopefully this is helpful. Reinforcement on the side tanks is a good idea, I reinforced my control box, and it works well. for the paddle, you can put the screws into the supports since the copper is easy to see. For the gas tank, there is not much room for it to move, so I just set it in there. I might put a deck pad under it, but that is all, no tie downs needed really does not move much.
Video 1: https://youtu.be/YX508v_y3pE
Video 2: https://youtu.be/EZKJhZX1sOk
October 25, 2020 at 1:06 pm #12637 hotpachangaMember
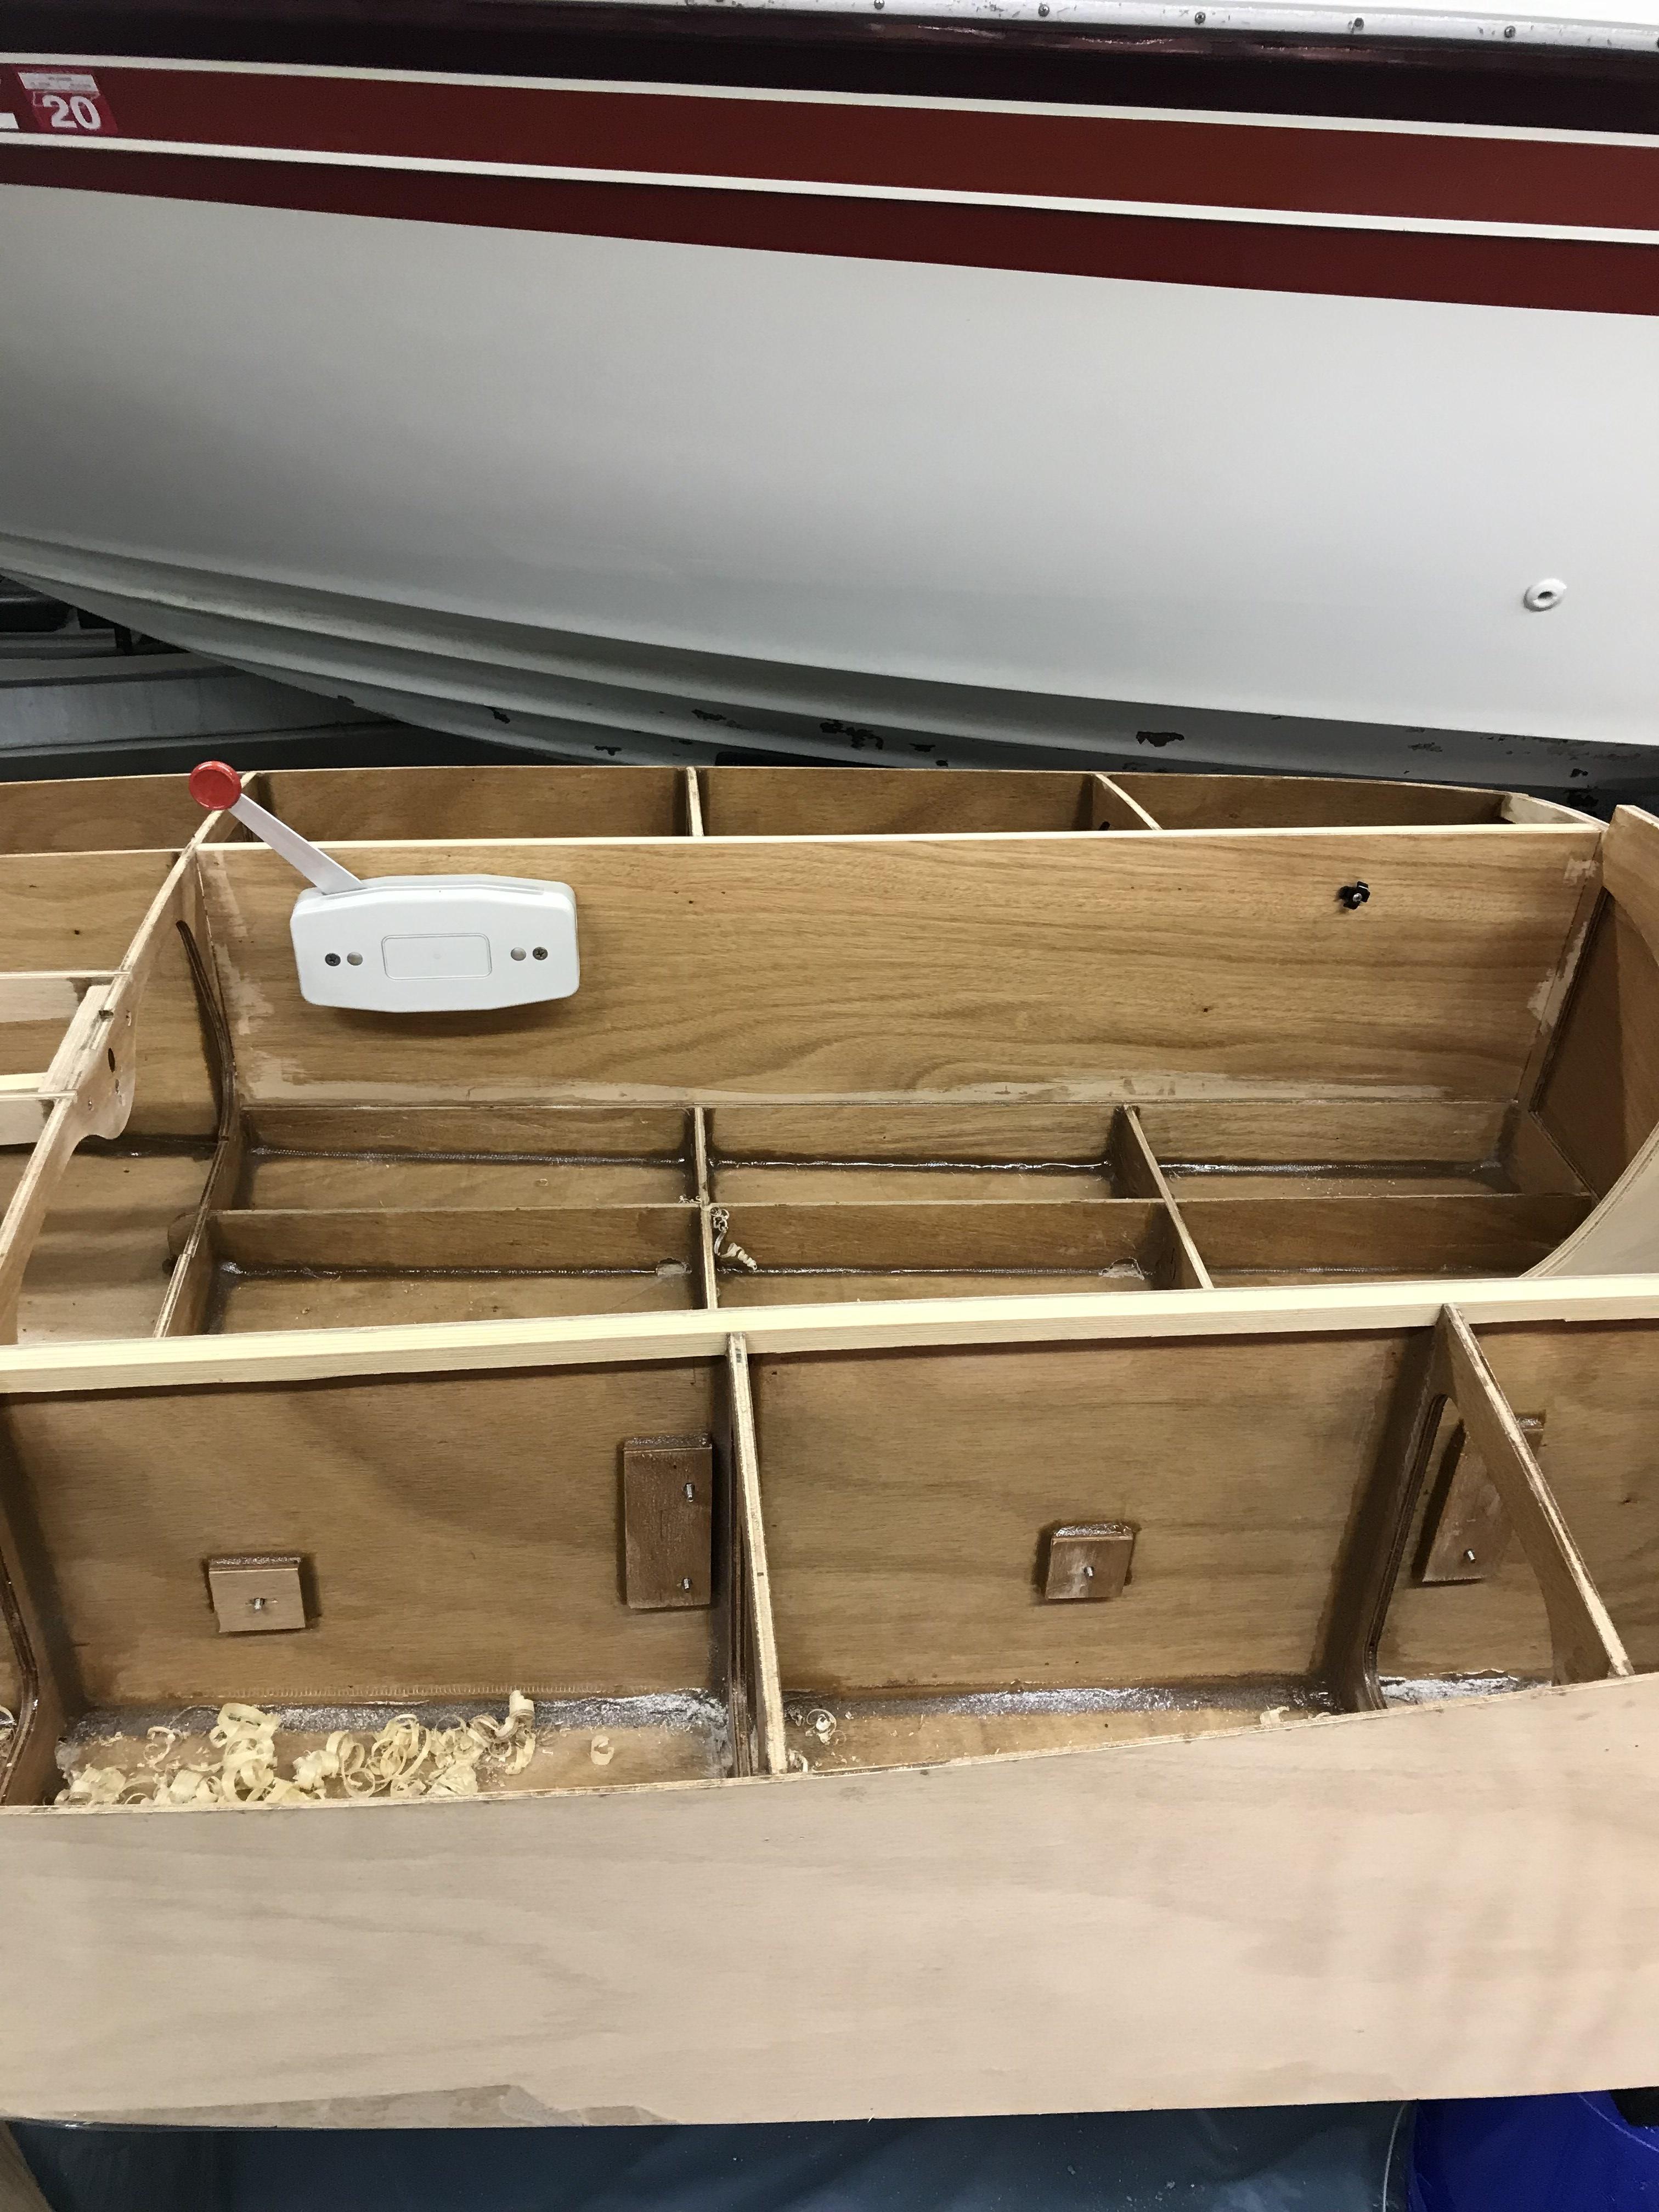
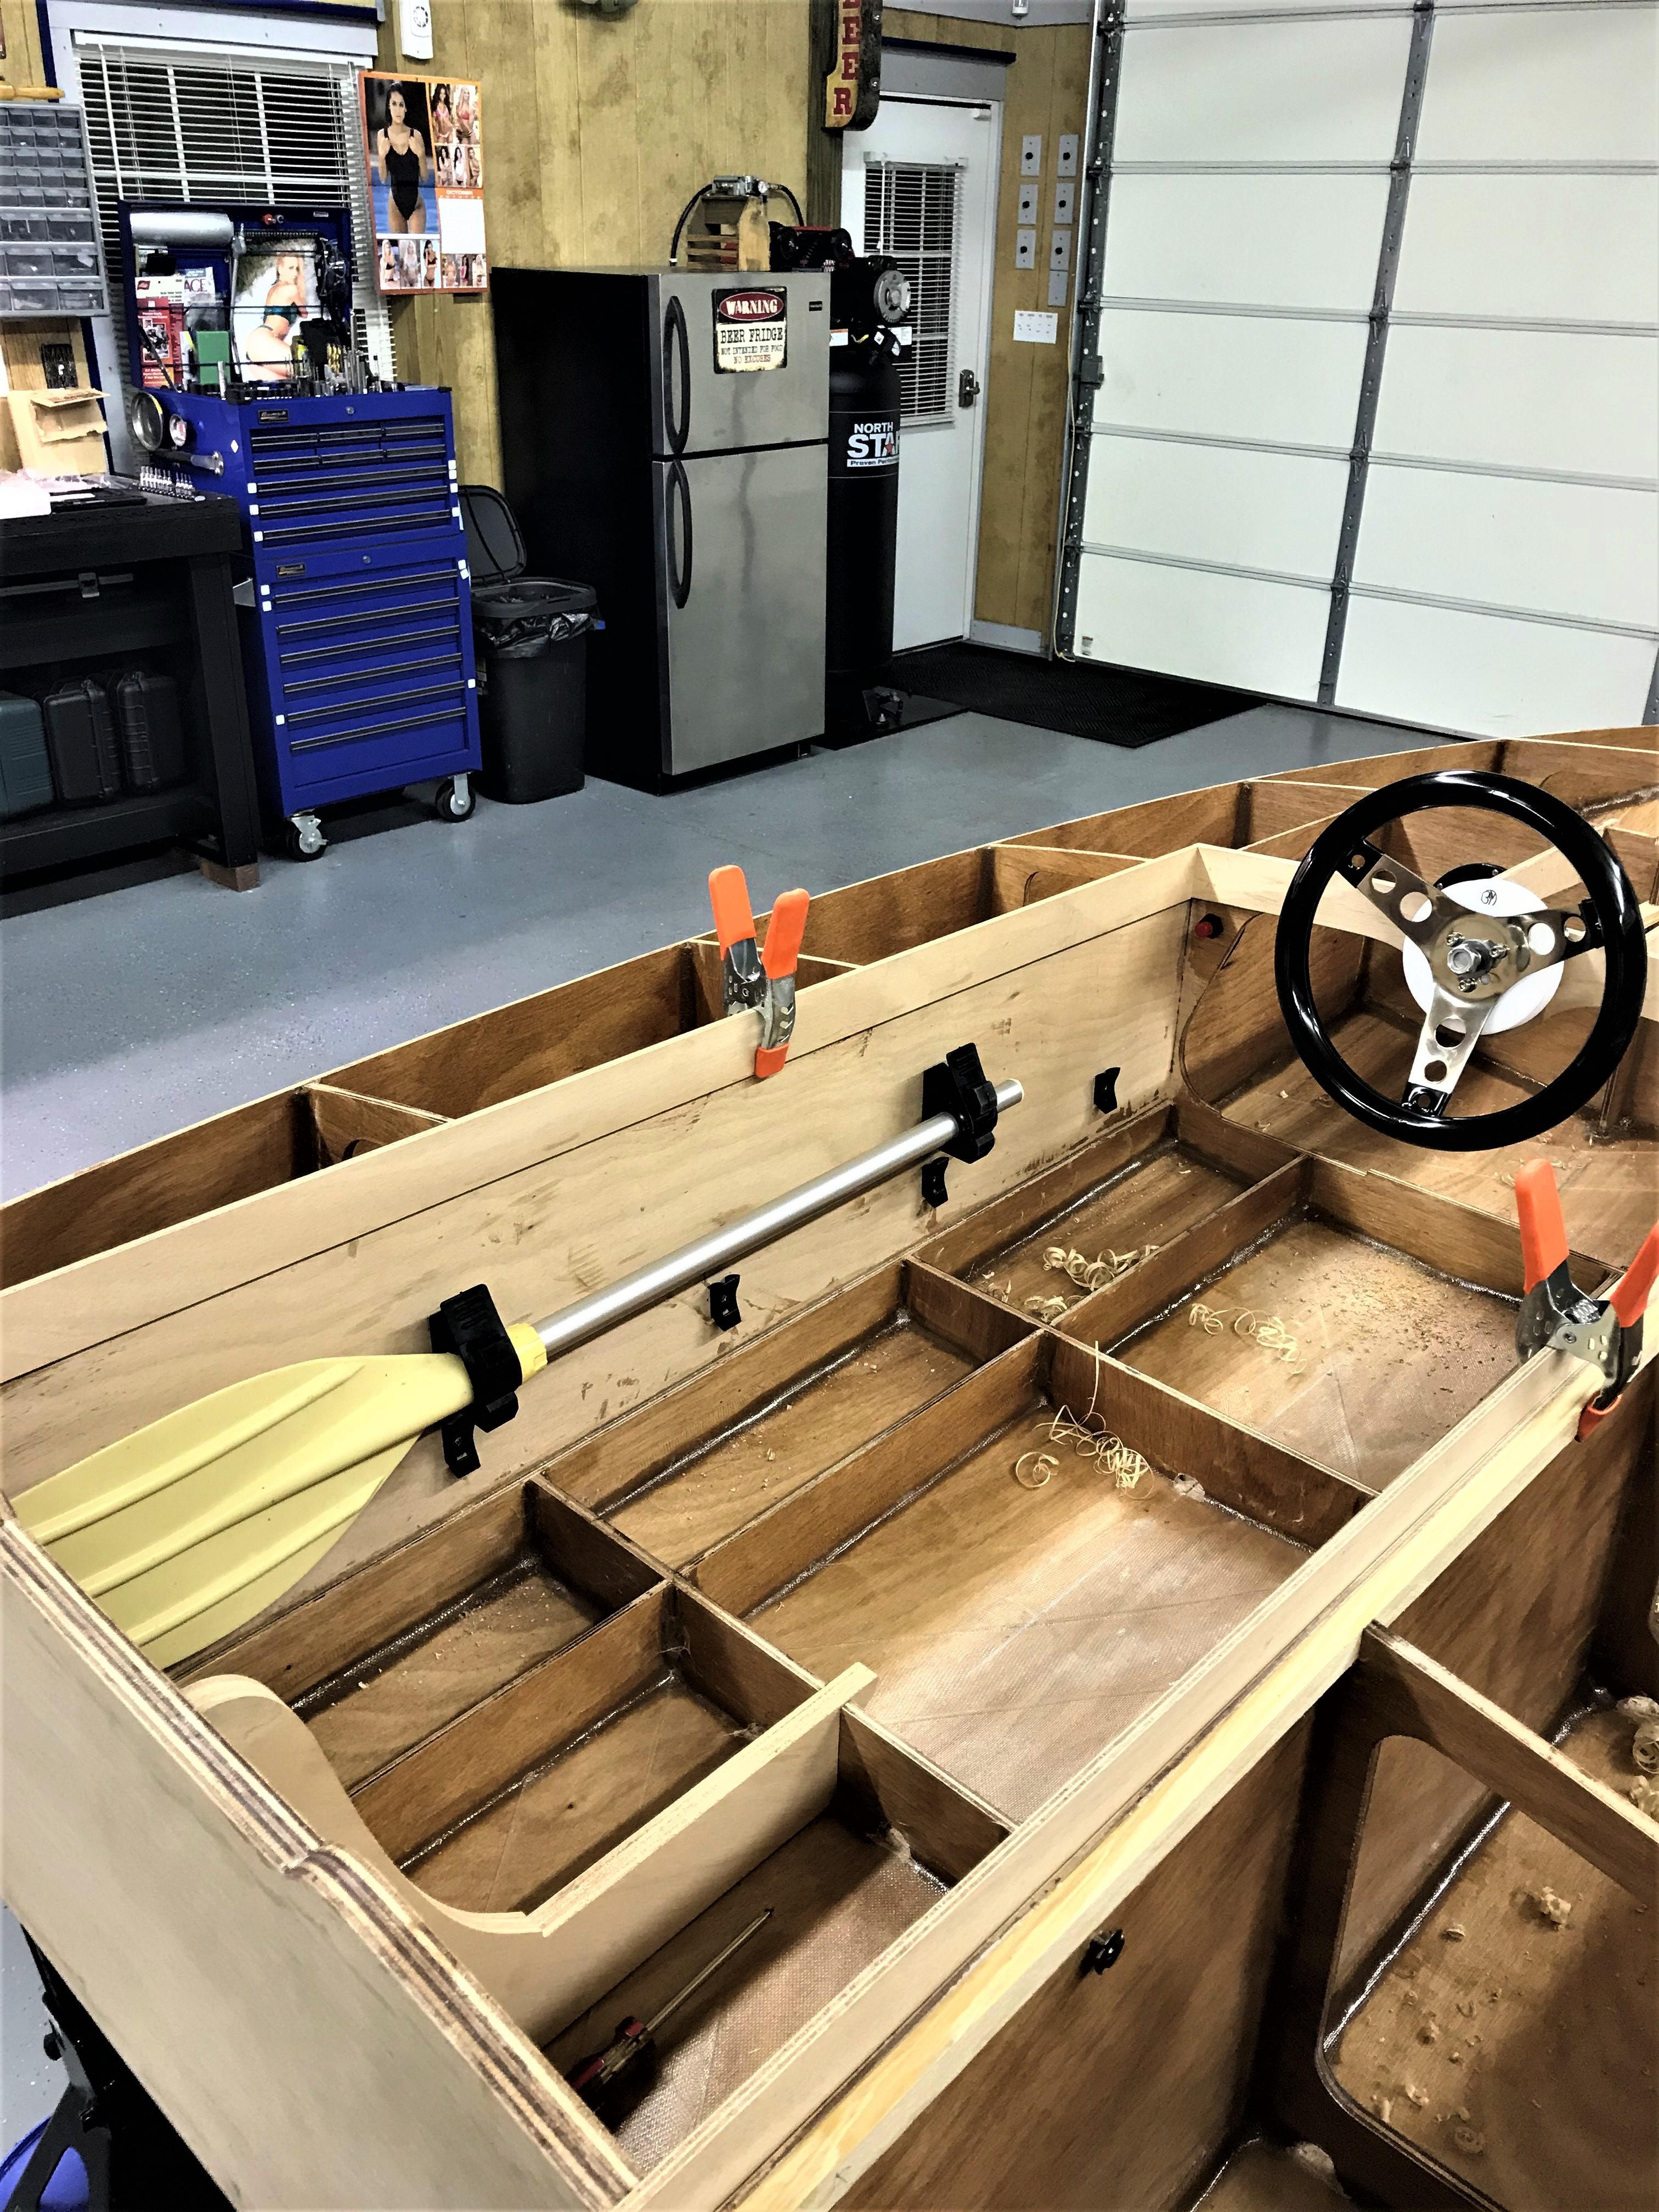
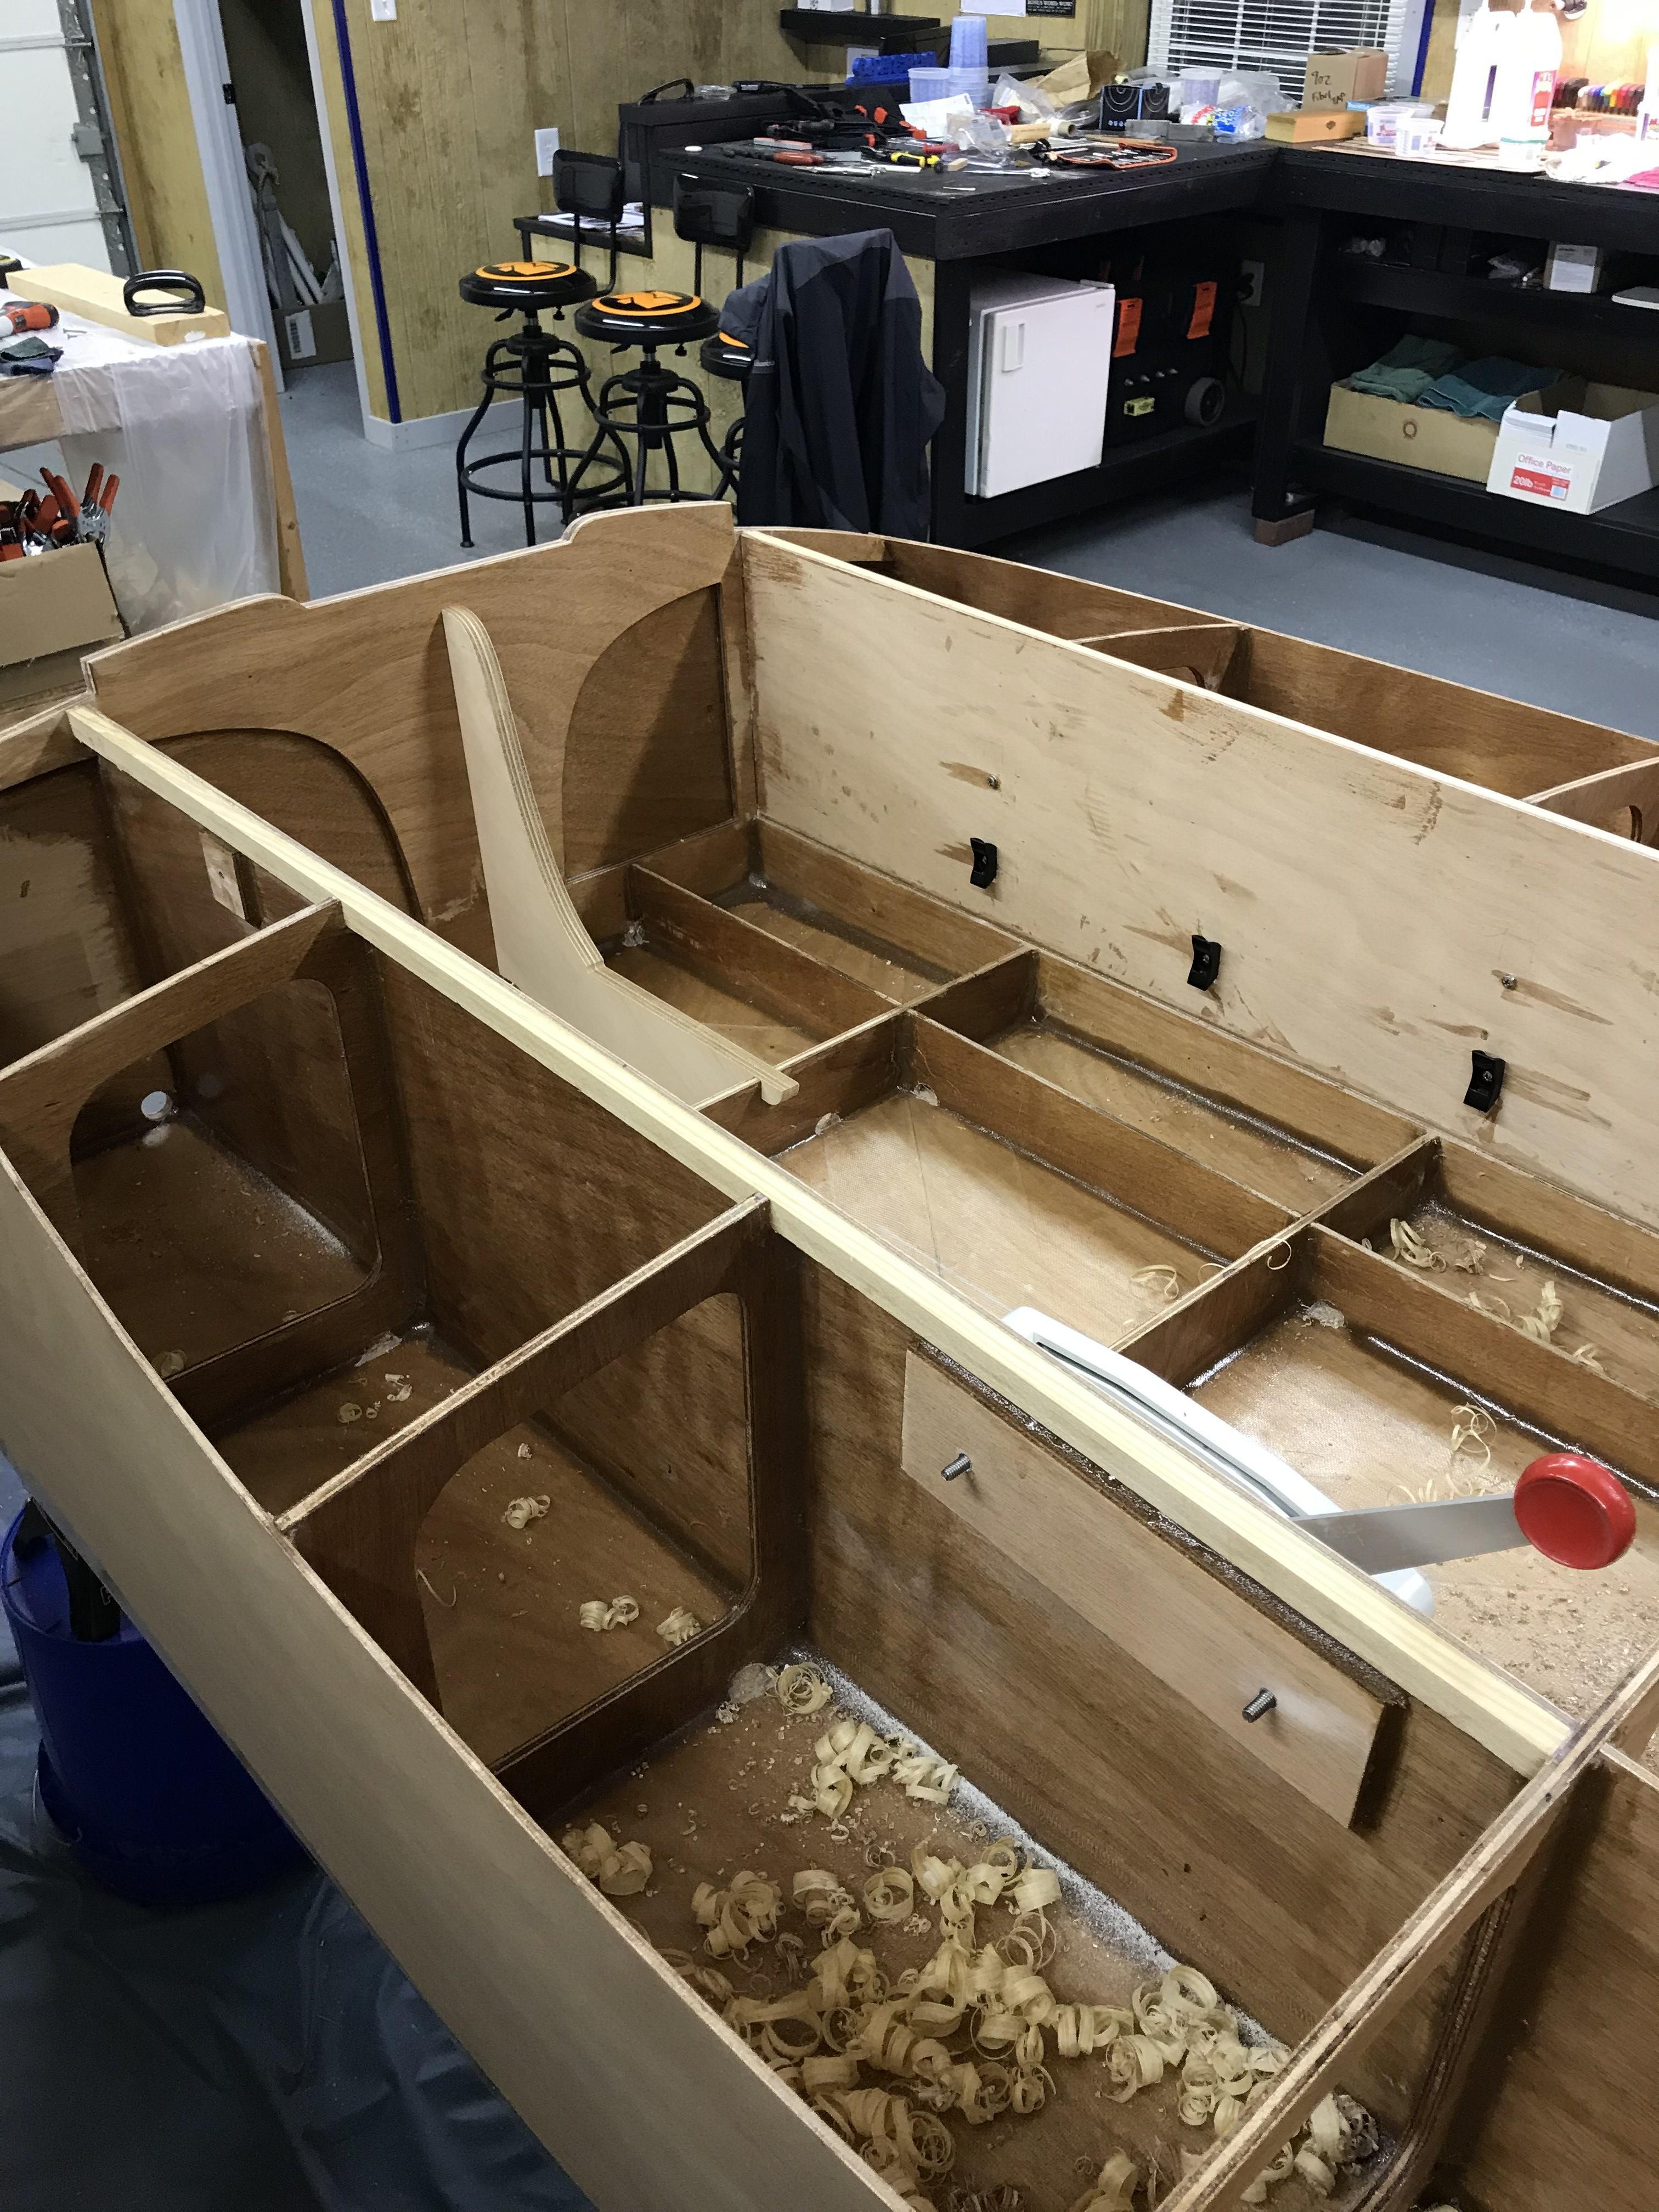
Hey Scot. There is all kinds of options to hold the paddle. I used some rubber holders. For the reinforcements I used the okoume mahogany .I used stainless blind nuts pushed into the reinforcements and epoxied them to the tank sides trapping the blind nut.The nut can never fall out. You have to of course have your control box,paddle mount etc for correct spacing while the epoxy dries . Will also need to run the bolts/screws out and clean with alcohol several times before the epoxy has cured to remove any that may have got on the threads. Just an idea and hope this helps.
 October 25, 2020 at 1:08 pm #12836
 RickKeymaster
I used a piece of sapele (same as used on toe rail, carlins, etc.) cut as a continuous gusset the vertical length of the transom knee. You could remove material from the fillet with a rasp and carbon paper for fit. I feel it gave me a very strong joint. The other area I had issues with was the fillet between the cockpit walls and the floor. I was guilty of maybe too much sanding and small fillets and had a fairly bad crack starting after some good “air time” fun. I made similiar strips to reinforce the floor to sidewalls for a good repair.
Here are some photos: https://teamloewen.com/CocktailClass/img_3305/
https://teamloewen.com/CocktailClass/wp-admin/upload.php?item=621
Digging those photos out reminds me how far I am behind on my build blog.
October 25, 2020 at 1:09 pm #12647Stephen Brendlinger
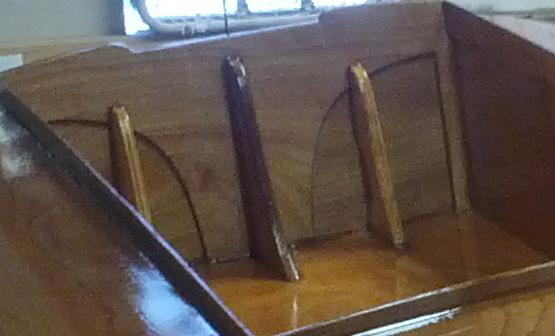
ParticipantHi Scott, I have recently become a fan of installing inspection ports in the tank sides. I used 6 inch ports (which allow me access to look for water leaks after Jeff drives it while it is filling with water) and put my ballast in either side when it is needed for the 8 HP class. This keeps the ballast out of the cockpit. The ports are also good for storing you lunch, phone, or extra clothes if you happen to go pleasure boating! I recently ran my kill switch wiring through the side tanks in an effort to keep it dry to avoid shorting out or electrifying the boat (it makes you want to get out of the boat). As mentioned before, reinforce the transom as much as possible, I added 2 extra braces to #999 Kamikaze after my first boat developed a joint failure at the single center brace. Good luck and hope to see you at the races!
 January 12, 2021 at 7:45 pm #12900
Marty Calon
ParticipantRick and Stephen, thanks for the suggestions. I’ll see what we can do to reinforce the transom before we hang the Tohatsu on it.
February 16, 2021 at 12:05 pm #12971Andy Stinson
ParticipantHi, I have two question for everyone
- Where would be the best place to install inspection ports on the side lockers?
- What size would work the best?
Thanks,
Andy
March 25, 2022 at 9:14 pm #13800Bill Peterson
ParticipantAndy,
I am contemplating building a CLC kit boat. I’m in New Bern and was curious if we might touch base sometime about your build.
Thanks
Bill
March 25, 2022 at 9:26 pm #13801Andy Stinson
Participant<p style=”text-align: left;”>Hi Bill</p>
that sounds good I am in DurhamAndy
-
AuthorPosts
- You must be logged in to reply to this topic.
