
Forum Replies Created
-
AuthorPosts
-
 RickKeymaster
Andy, on your original question, I have an extra trailer available. I haven’t used it much since replacing all the wheel bearings and replacing the trailer lights and wires.

Asking $300
RickKeymasterI have two boats, one is rigged with both lines on the port side with purchase, two Ronstan blocks. The steering wheel drum is 5″ diameter. The blocks are attached to a 1/4″ SS hex socket screw that is drilled through the head and pinned with small shackles. The springs were selected from a hardware store assortment.

The other boat is rigged with harken blocks on the carlins and direct connected to a 1/4″ SS bolt that I found somewhere, it has a stud on the top of the head. It is also drilled with shackles pinned. The steering drum is 4 1/2″ diameter. The springs are stiff stainless steel used on a sailboat rudder. I like the steering ratio where one can steer the motor to either extreme from center without releasing the steering wheel, about 2/3 -3/4 turn.


The center hole on the Tohatsu steering plate has a 10mm hole, so I managed to find a brass step washer that works nicely.
RickKeymasterIf you are referring to the transom mount brackets on the inside of the transom, the screw handles of the transom clamps on the OMC engines have a center measurement of 5 1/4″ centers with a 1 1/4″ dia. pad and the Tohatsu measures 4.5″ centers with a 1 1/2″ dia. pad.
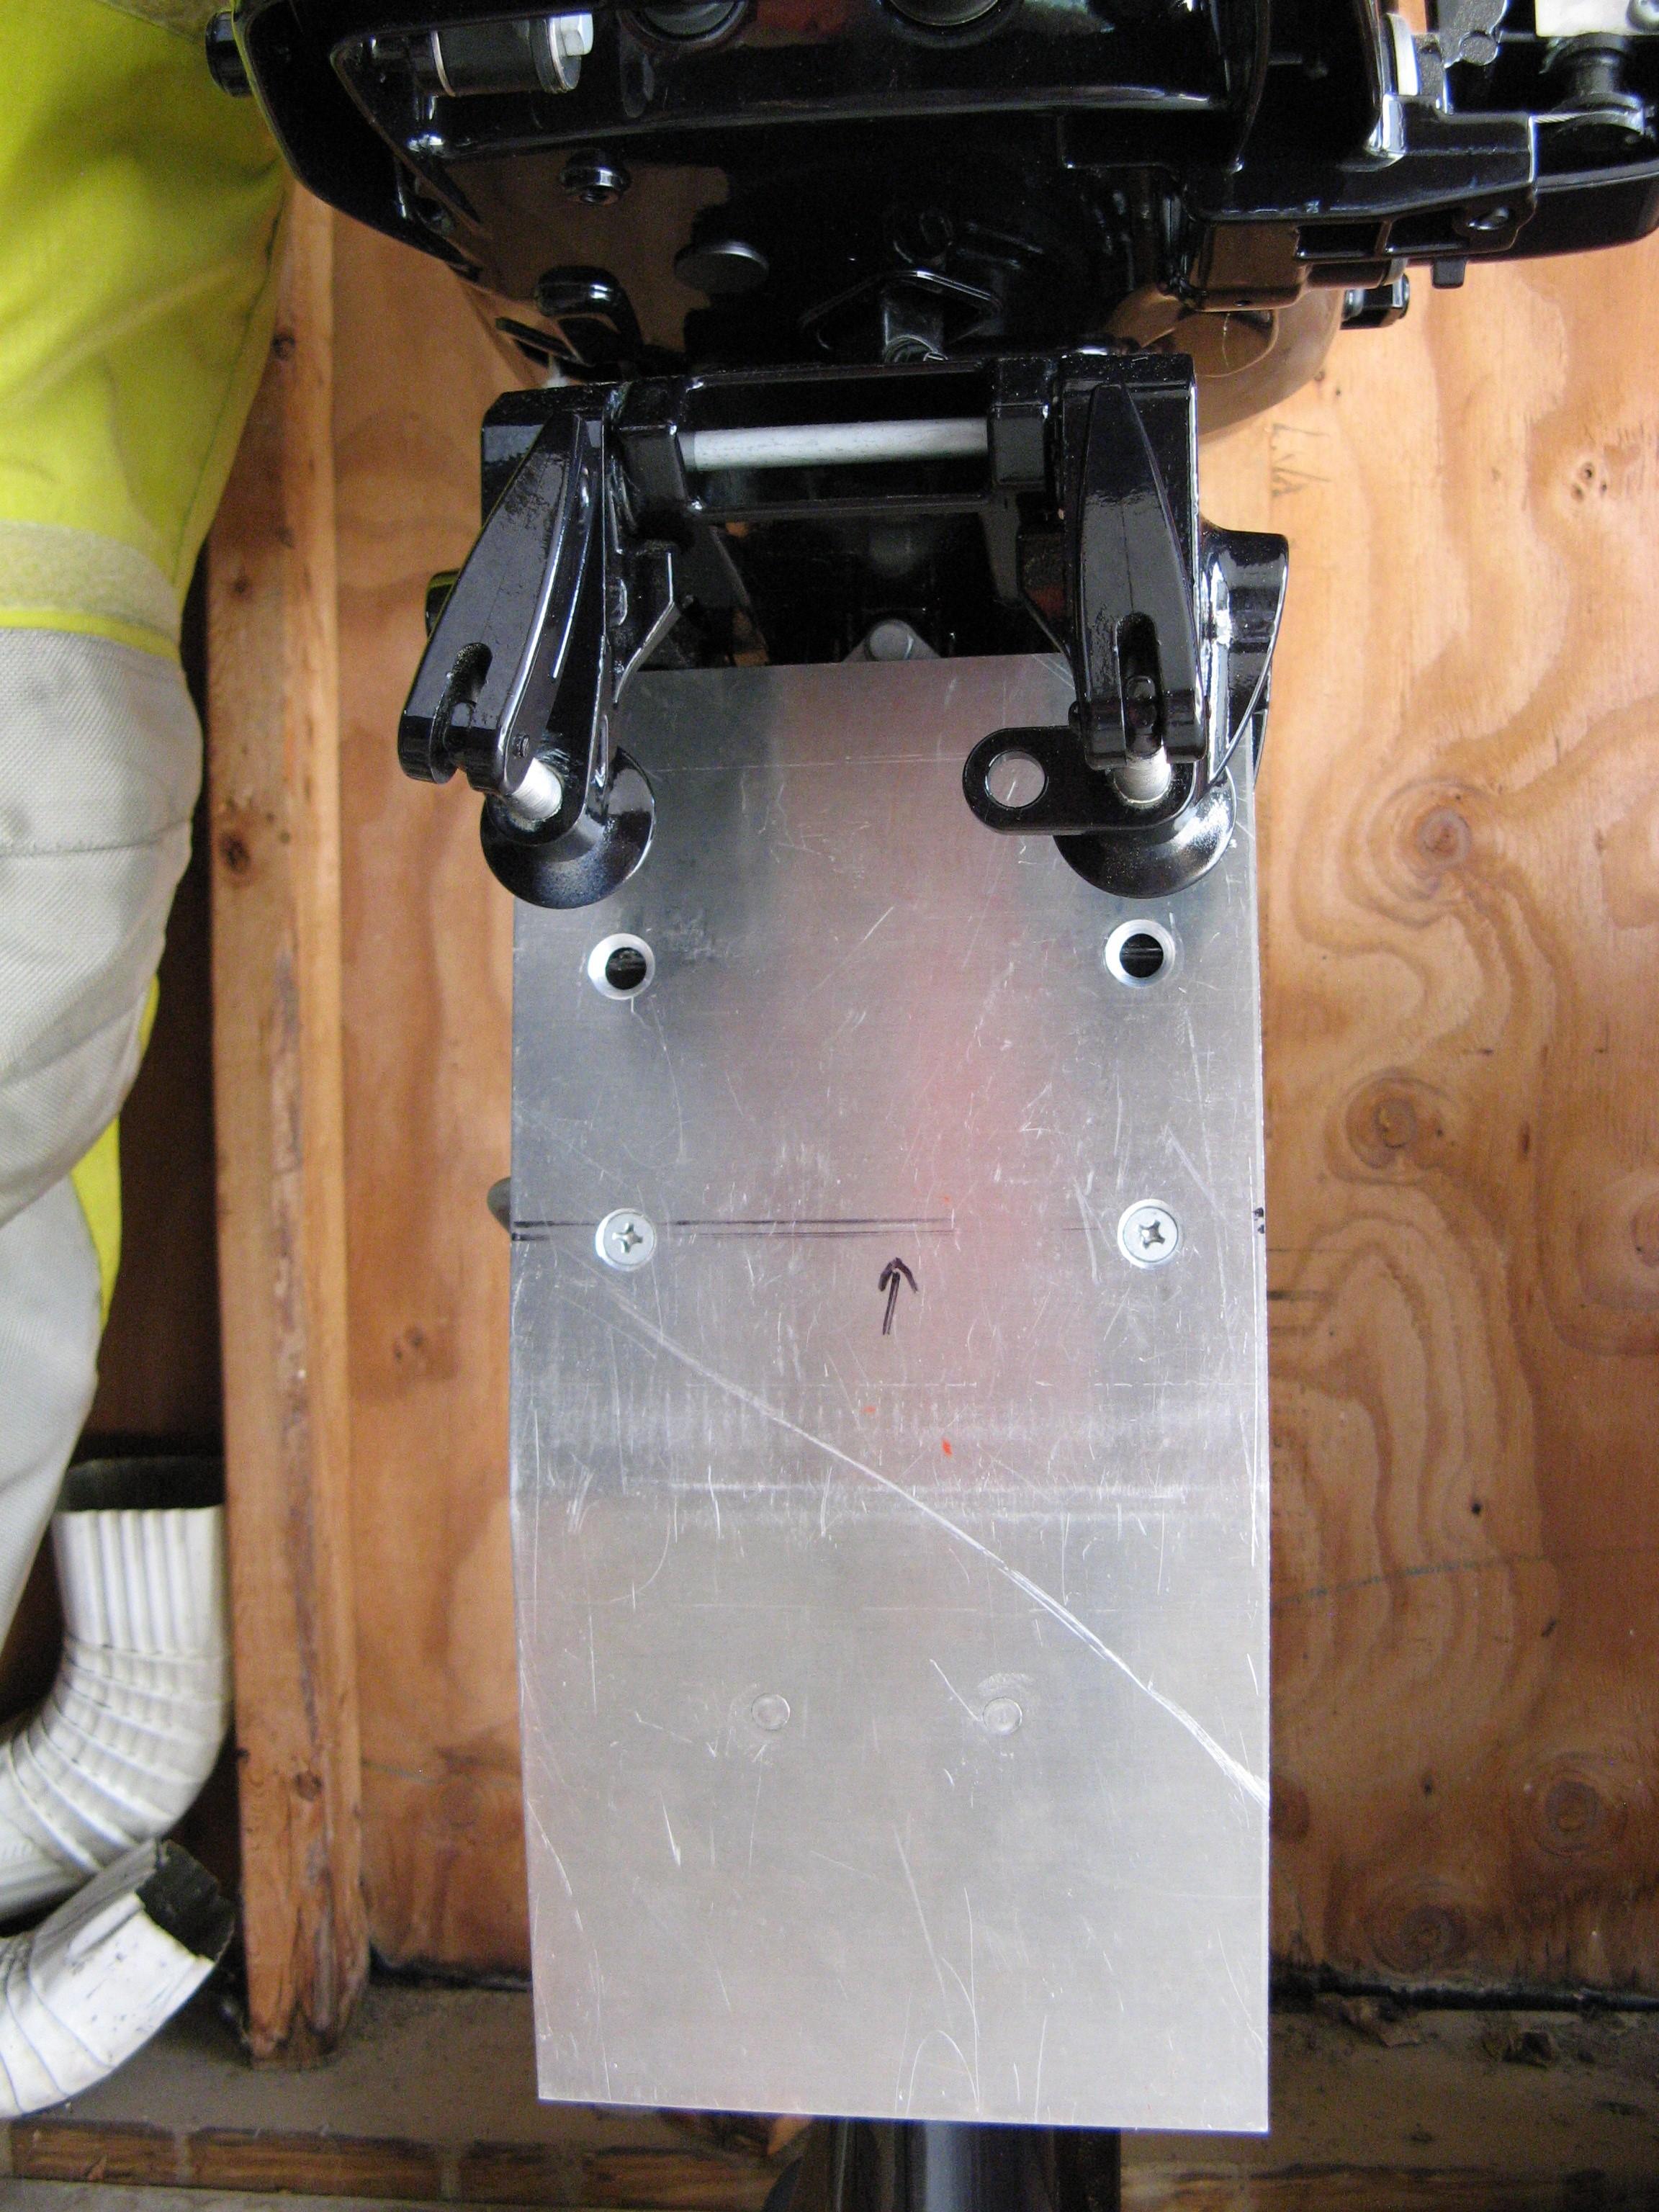
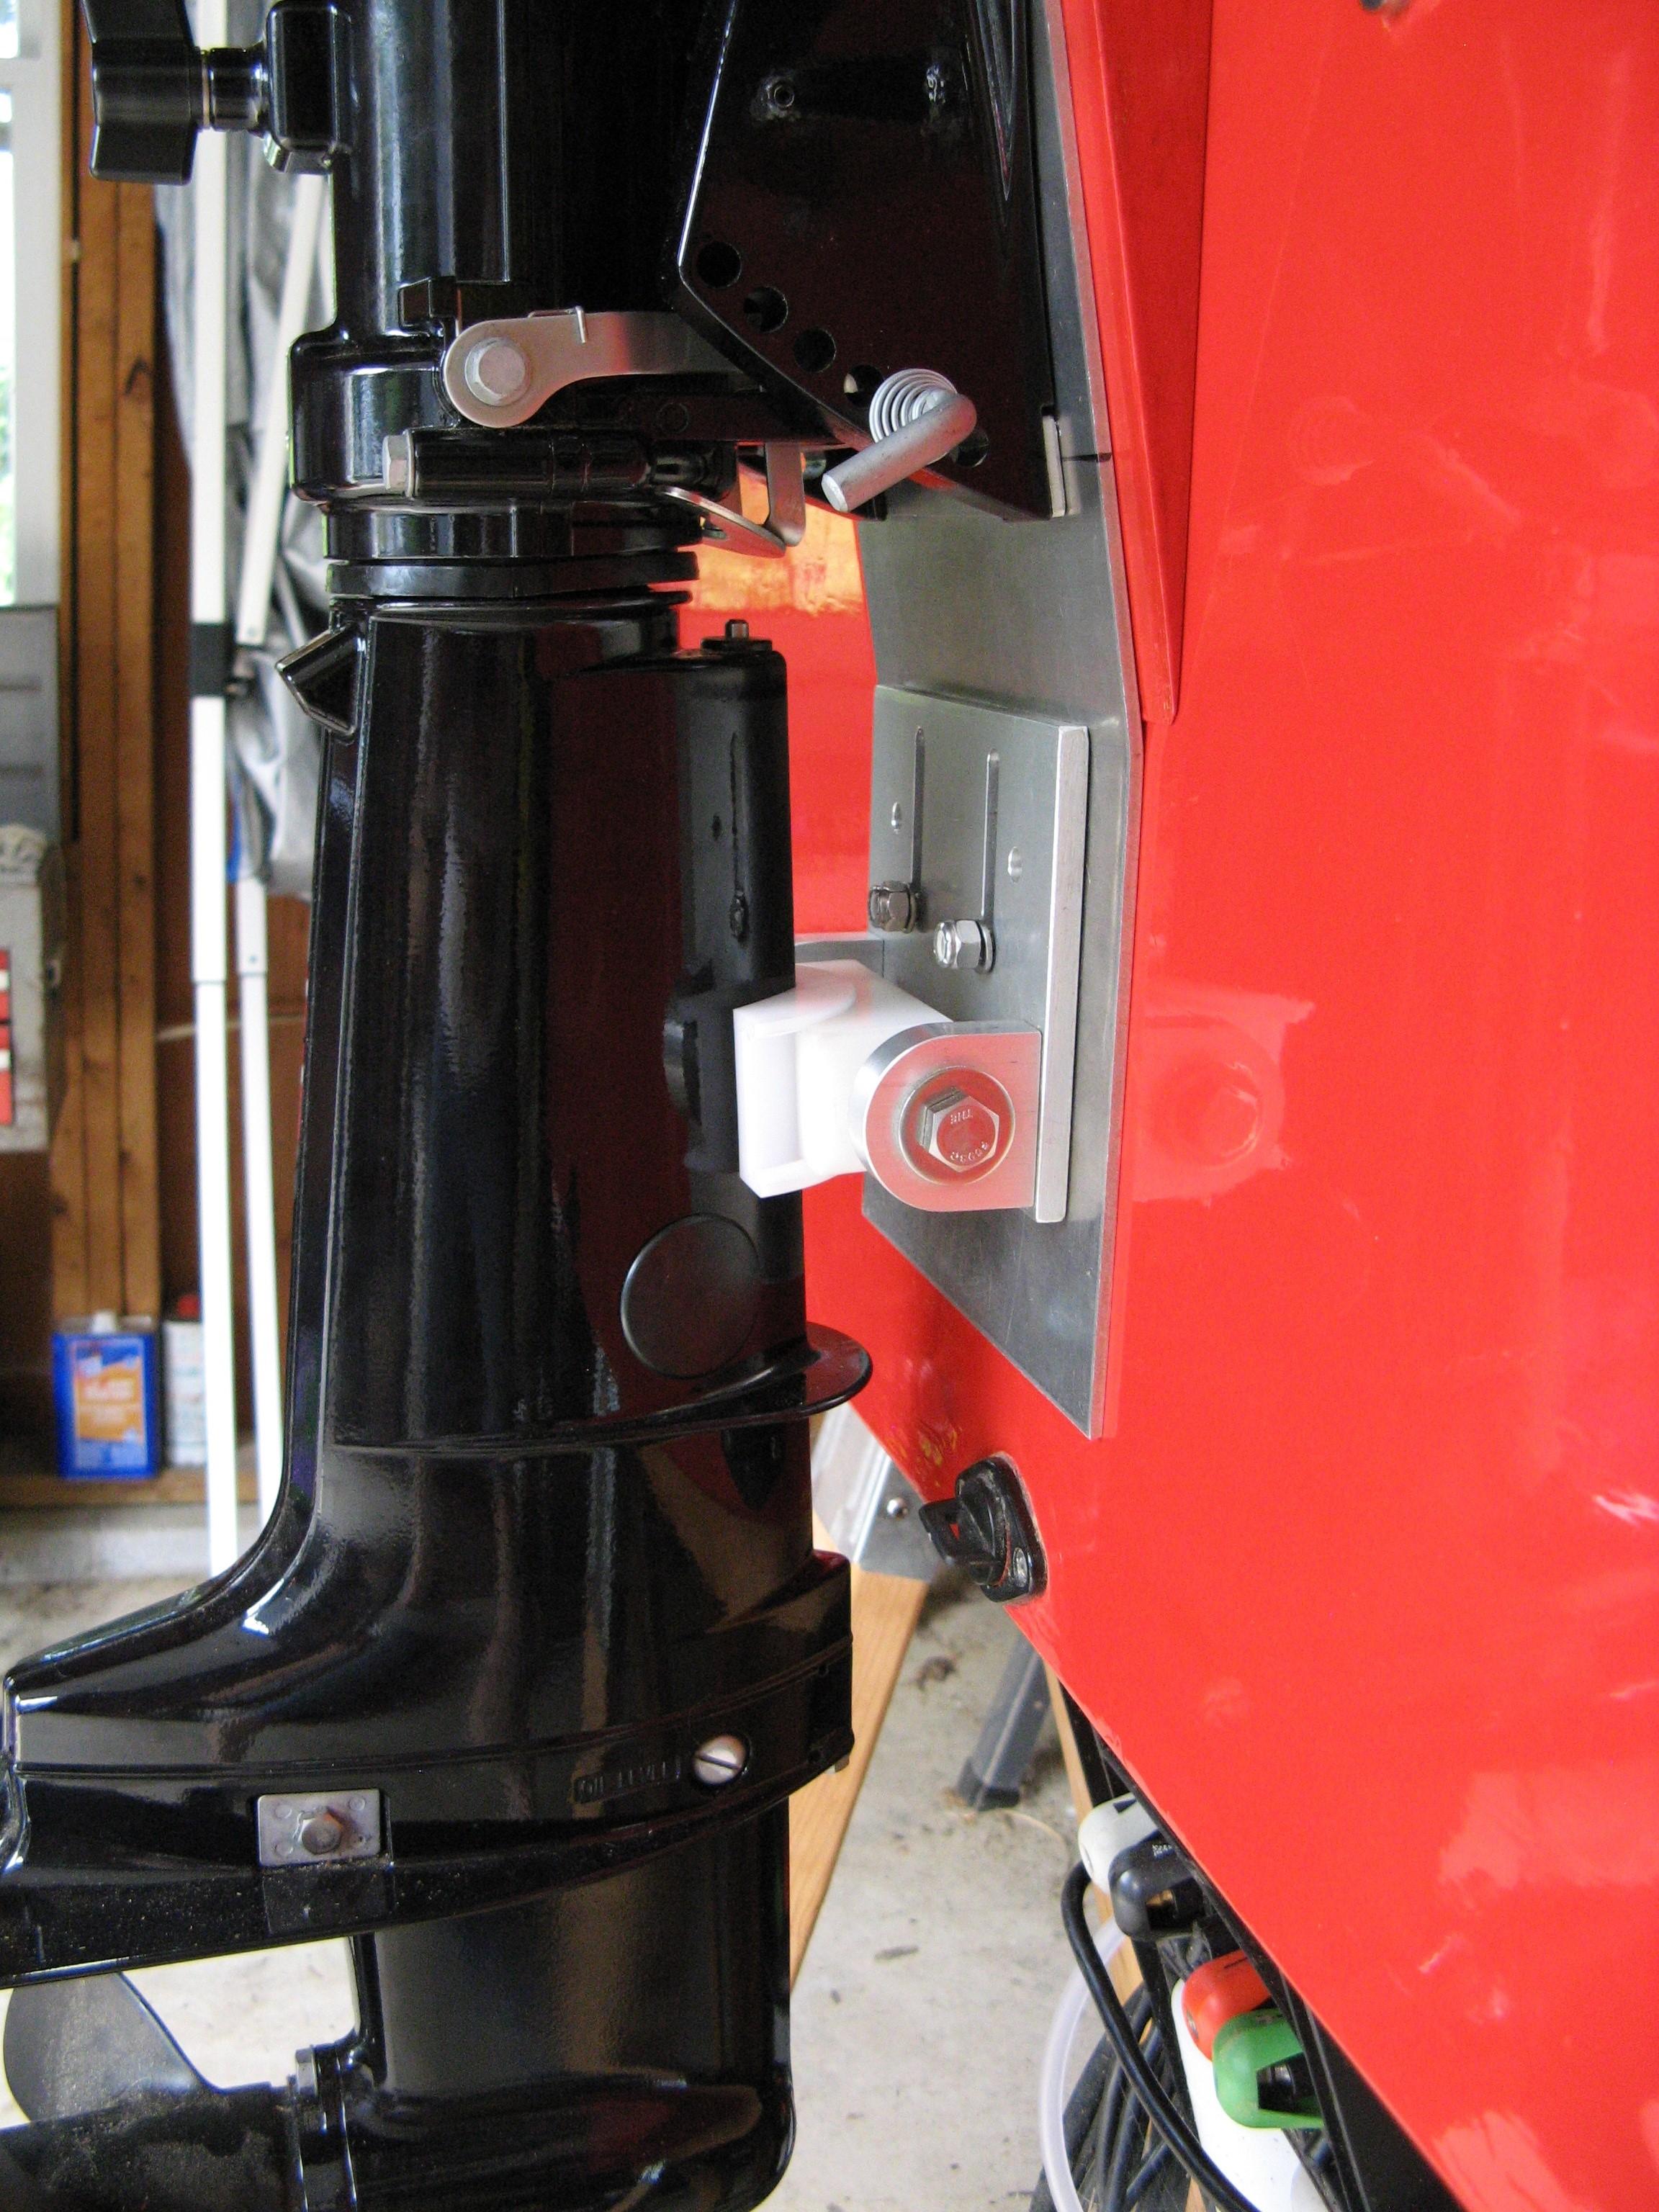
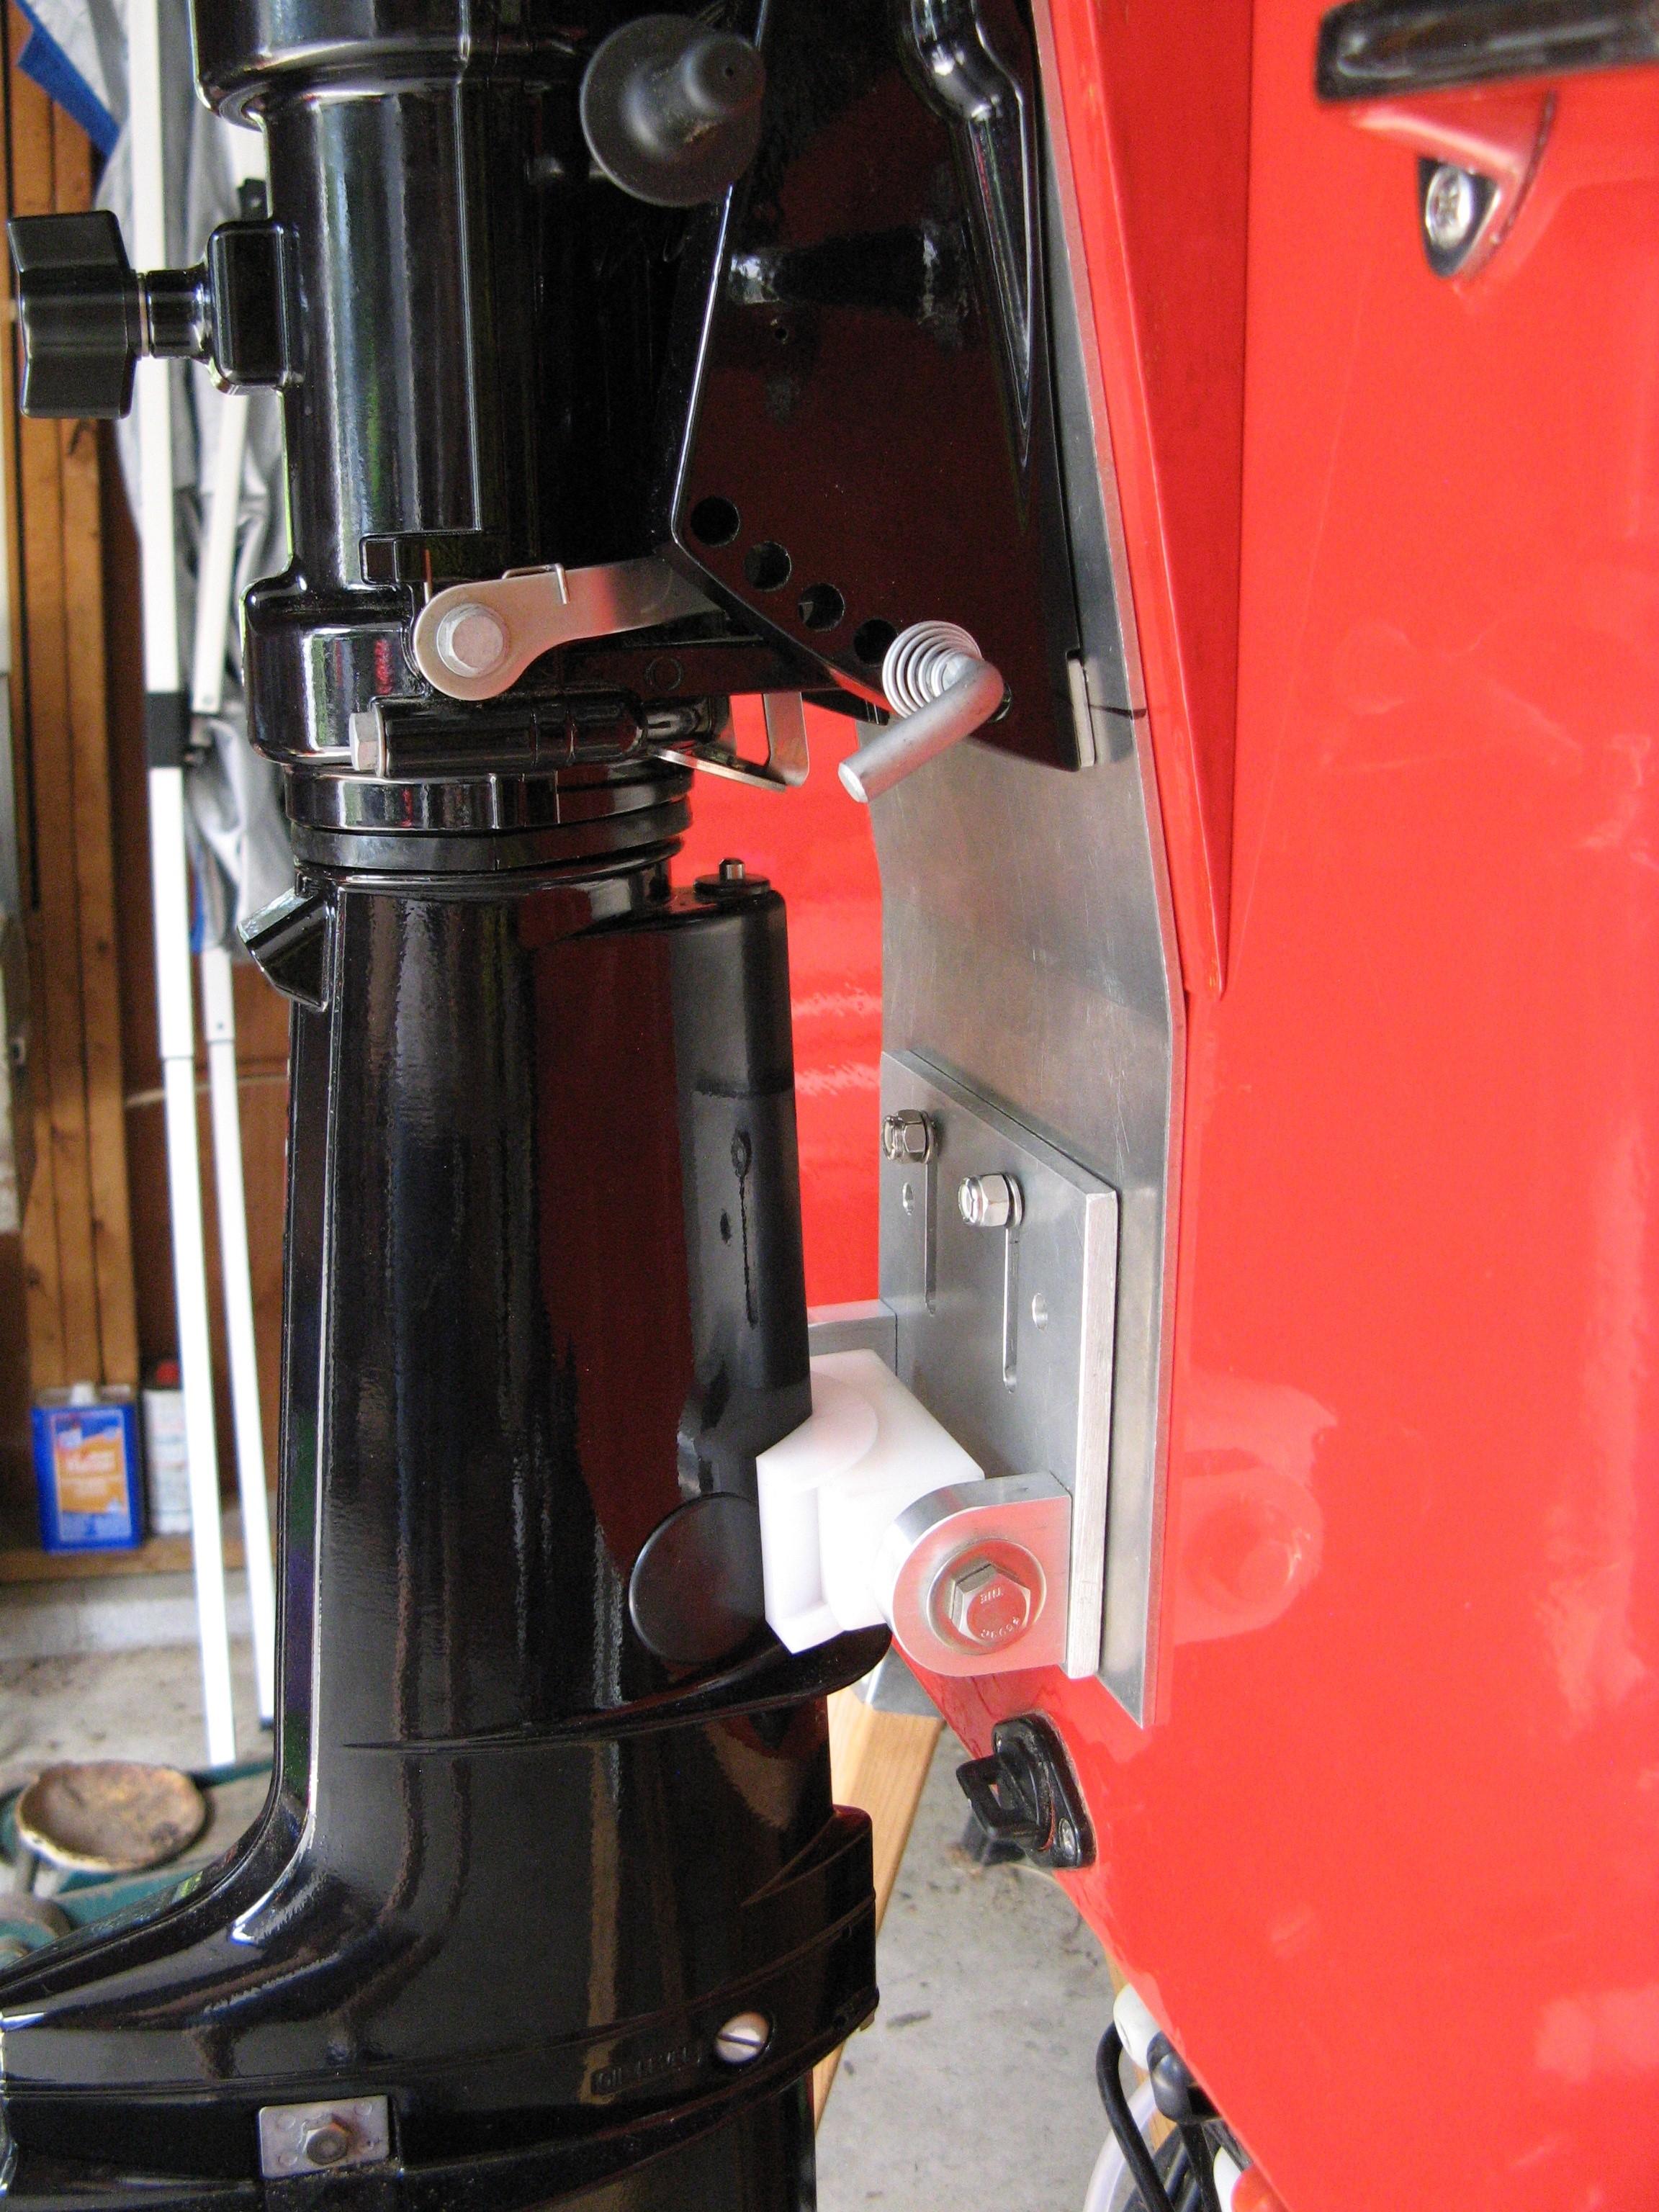
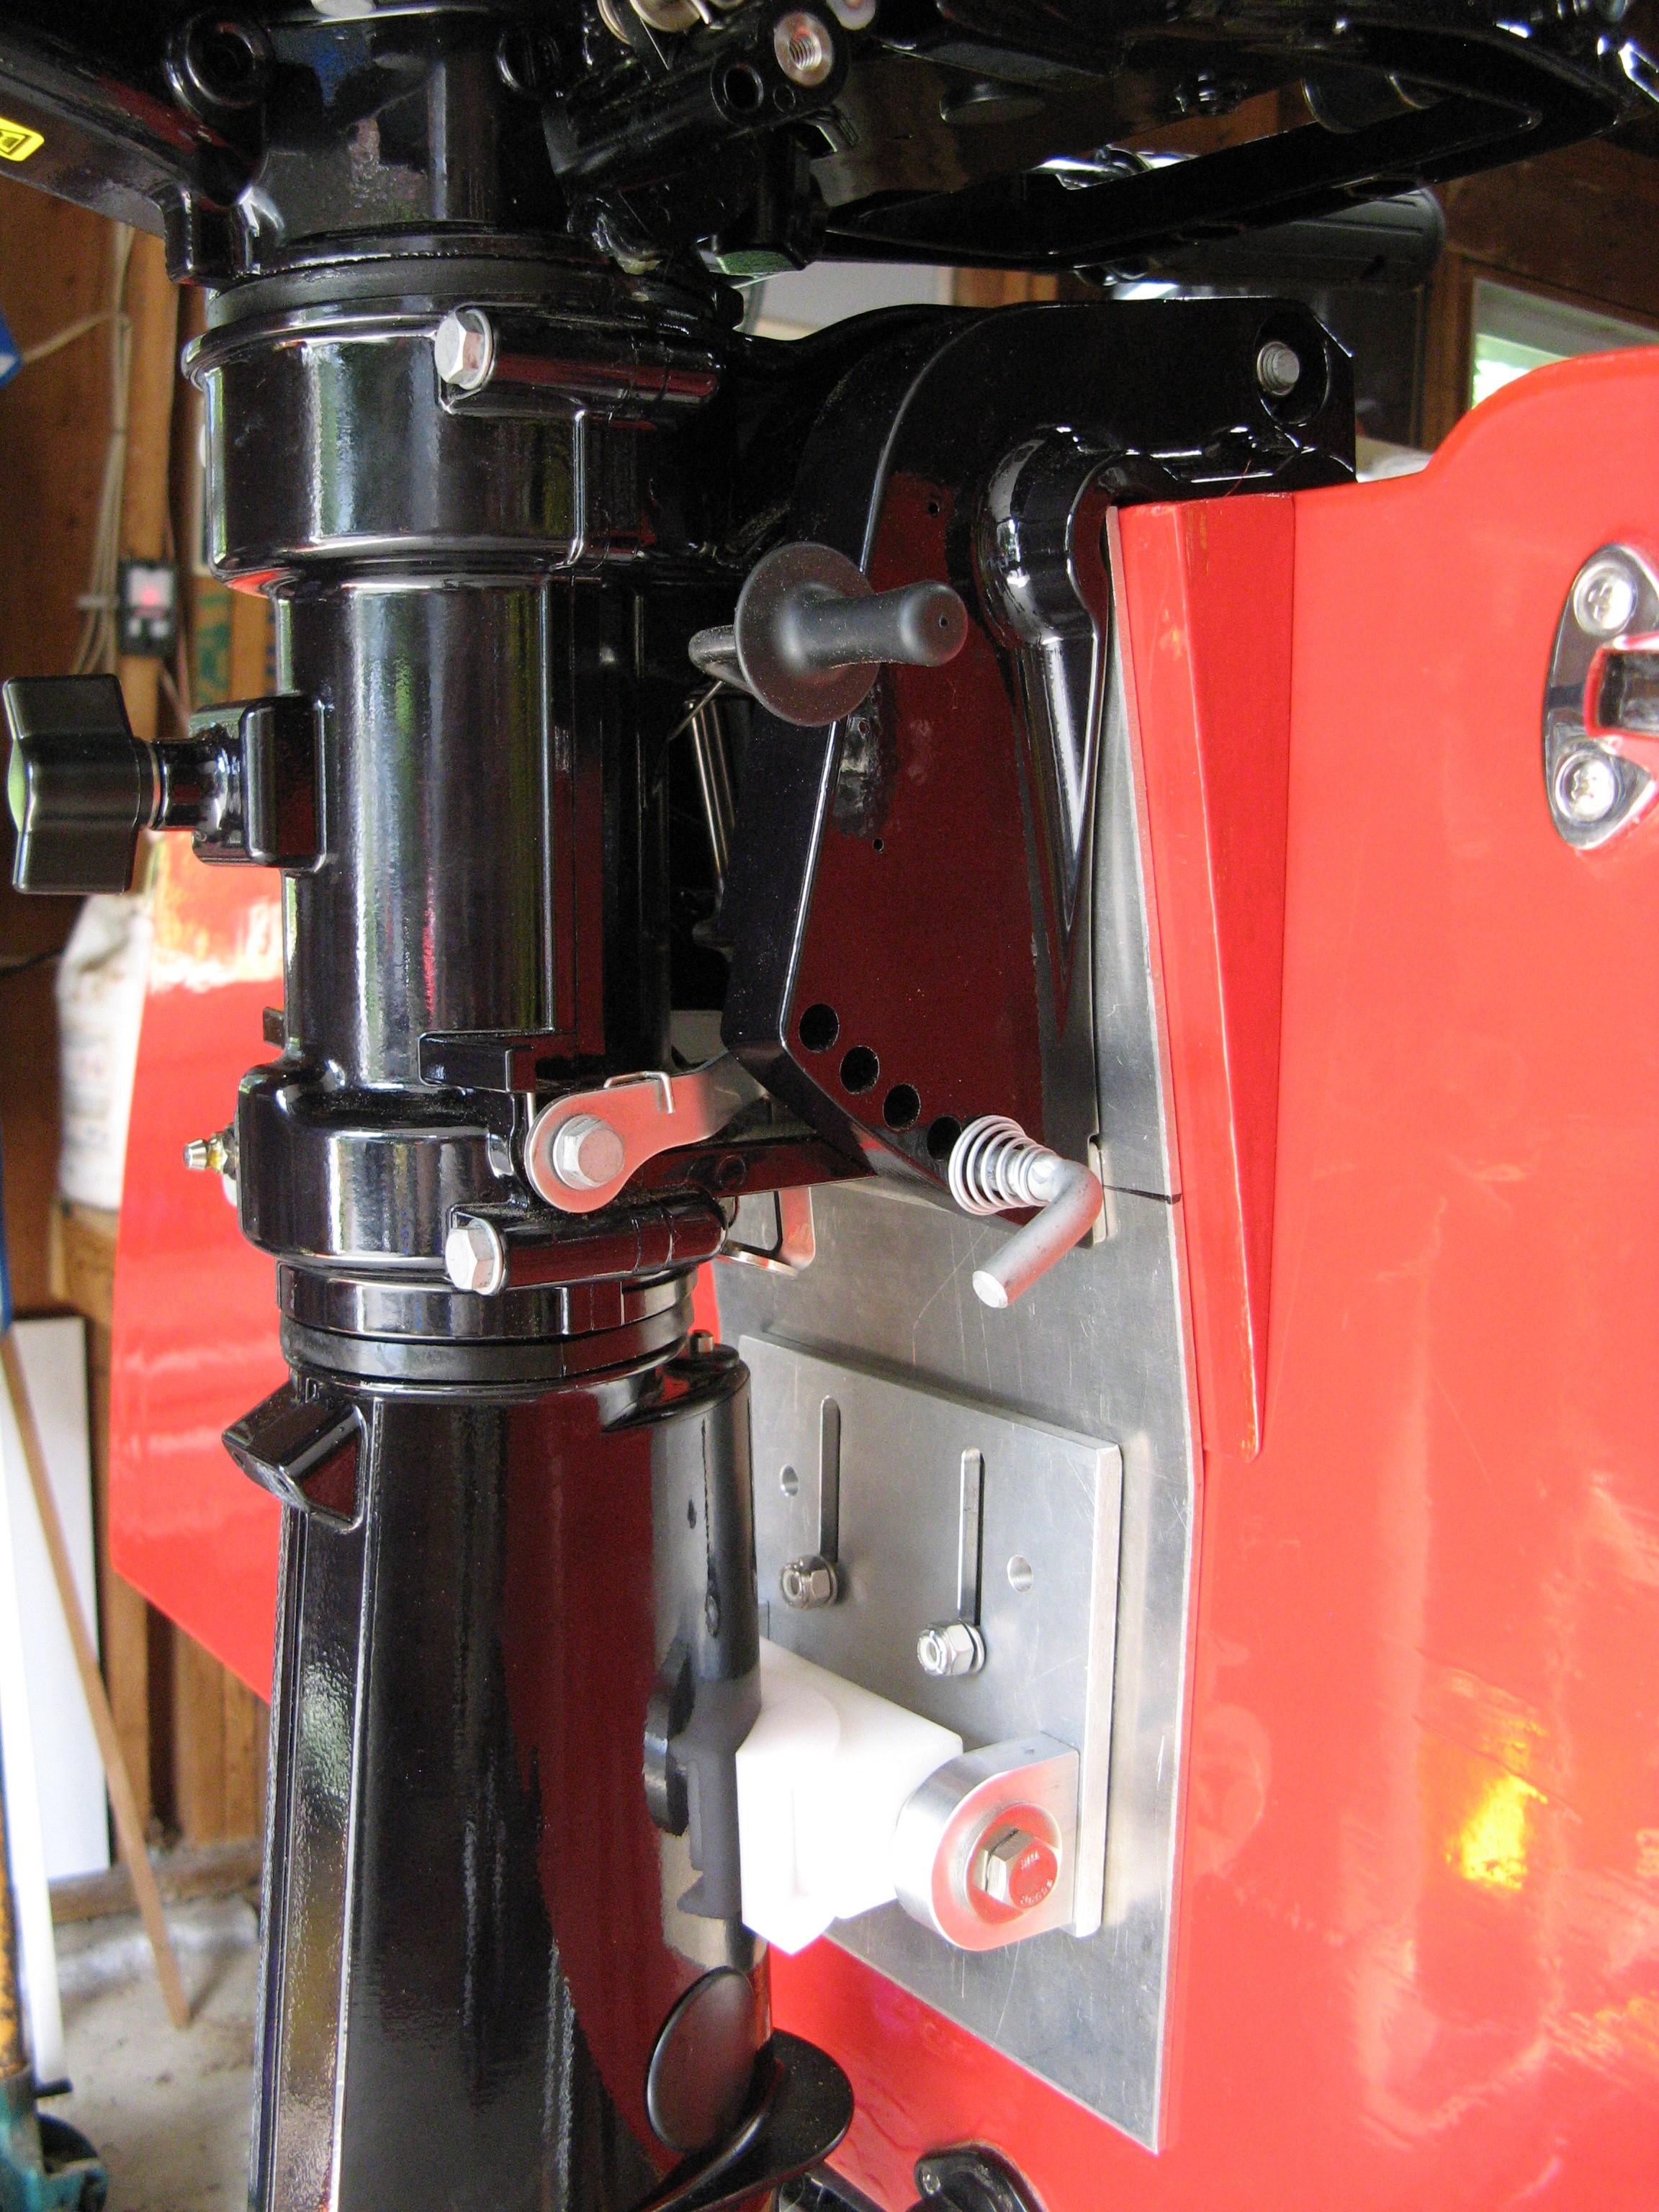
The OMC has two tabs for bolts to mount through the transom at 7 1/8″ centers on the outside of the transom. The Tohatsu does not come with through bolts, nor does it have a tab to connect a safety cable. I removed the small aluminum plate on the tohatsu and replaced it with a larger one with the same interchangable pattern for either motor with 7 1/8″ center holes.
Rick
RickKeymasterYes, it does, and that is good. When using an 8HP motor the racing rules require the wedge and transom to be drilled and bolted with the stock holes on the 8HP OMC motors. This allows me to use the same bolts with the Tohatsu. The bolts should then have a wedge washer on the transom so the bolts seat flat on the transom.
 RickKeymaster
Andy, there should not be a gap between the nose block and the deck. I don’t have the build manual handy right now and it is difficult to tell from this photo what the problem is. The king plank should rest on the center frame and end at the nose block. It is not clear, but you might have trimmed down the nose block too far along with the toe railings. There should not be a gap between the deck and toe railings. Could you post more pictures?
RickKeymasterThe Tohatsu uses the same wiring configuration as the OMC engines. There is a wiring harness that can be purchased to link to the Tohatsu kill switch on the remote control, but I connected to the two wires on the engine where the harness would have connected with my OMC kill switch wires.
RickKeymaster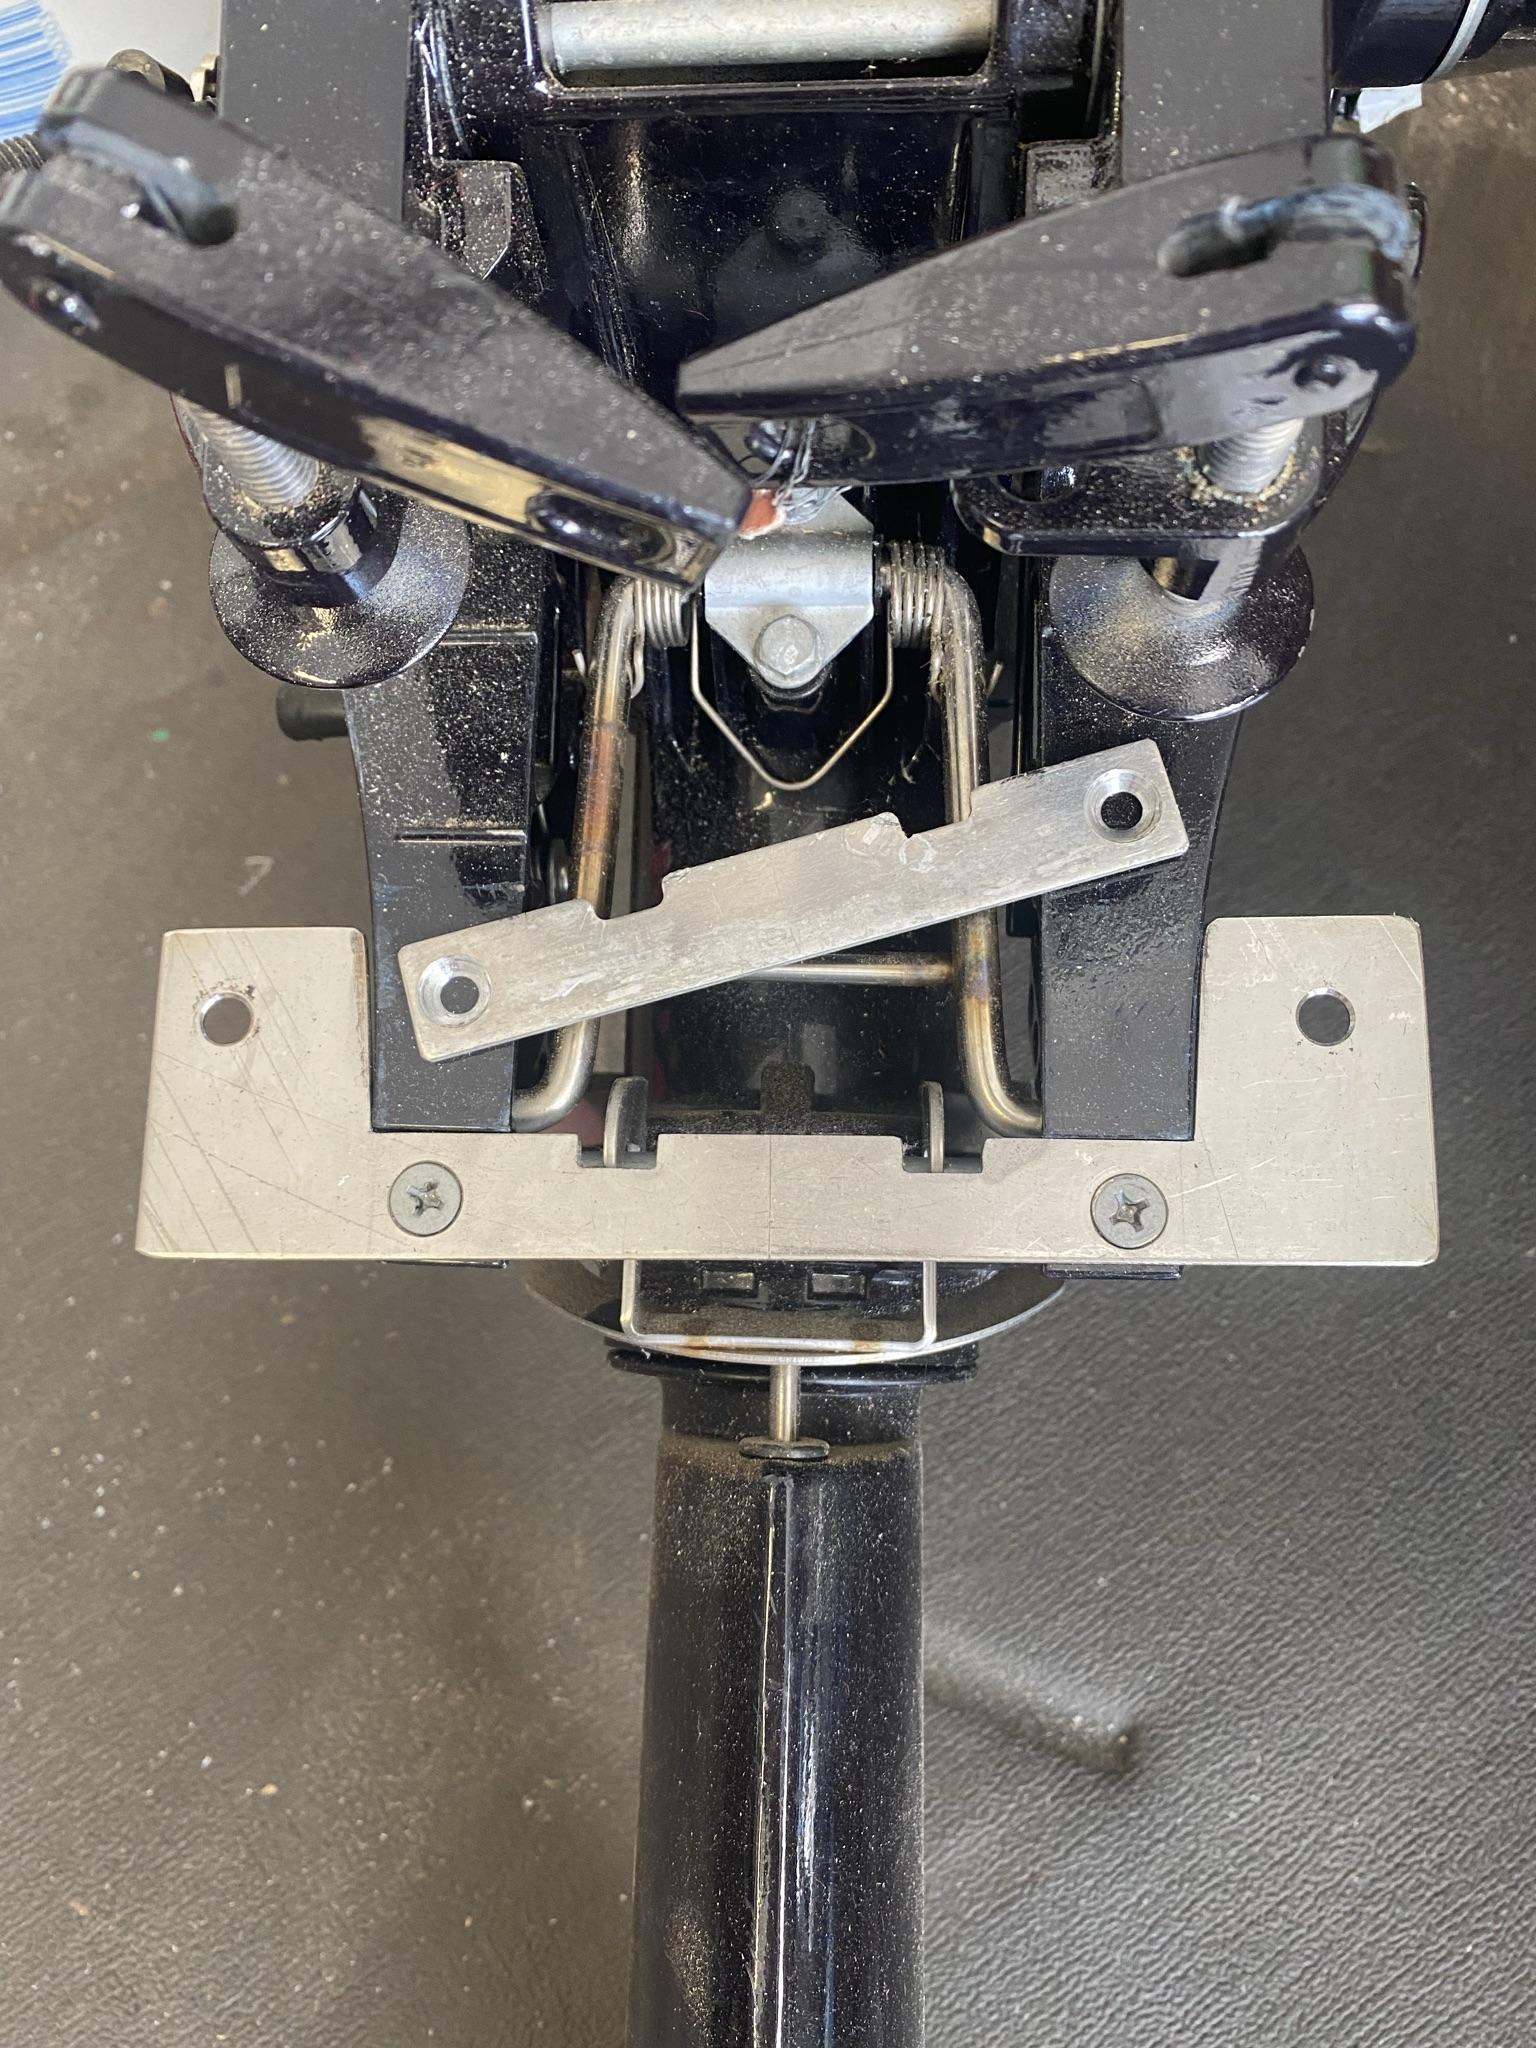 RickKeymaster
Missed one!
 RickKeymaster
Marty Calon’s Tohatsu photos
 RickKeymaster
Marty,
I can post the picture if you could send it to me, southeastregion@ccwbra.com.
Rick Loewen
Southeast Region Fleet Captain
July 13, 2021 at 6:05 pm in reply to: A few questions about backing, motor wedges, & Aluminum back plating #13063RickKeymasterAndy,
I backed up my transom handles inside the side tank by epoxying a 3/4″ strip of wood behind the mounting points, similar to what Marty did. I would have preferred to drill and tap a piece of stainless steel as I did for my other mounting hardware points, but I was in a rush to get the deck on. I placed the handles centered 5″ below the point where the deck meets the carlins. The horizontal centerline of the handles is 5″ from the outisde of the hull sides. Those handle locations work perfectly.
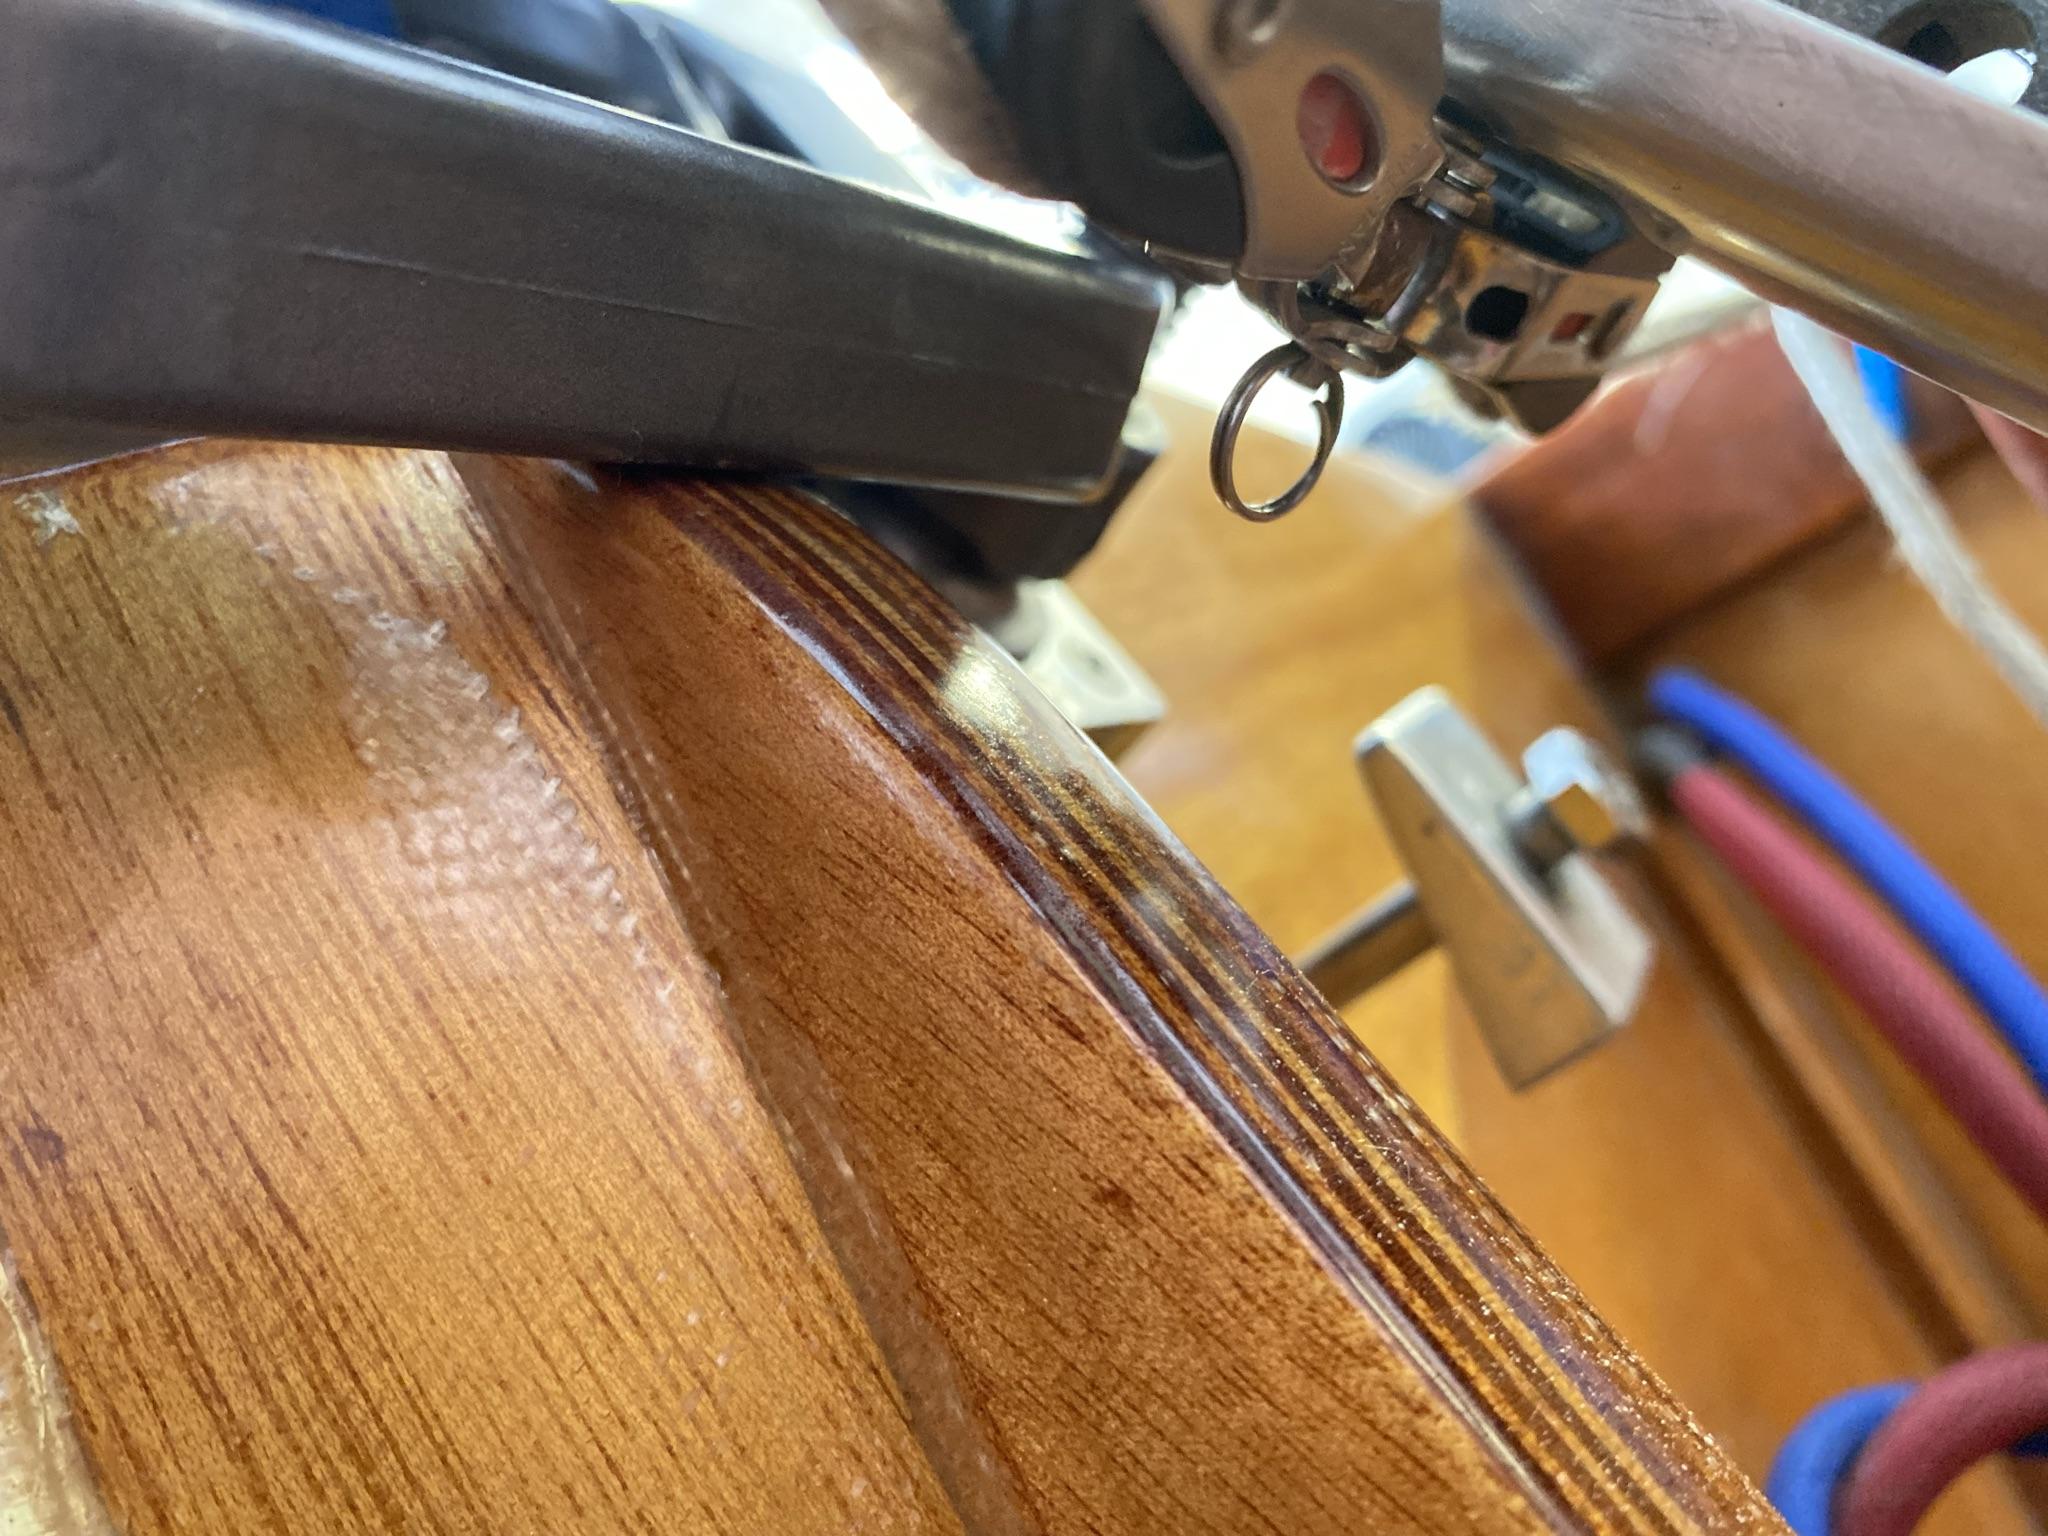
The bow handle should definitely be backed well. I go for solid through-bolts on essential hardware, way more than I would trust wood screws. I often hang my boat in the garage to work on it and also like the assurance that I can tow anything or be towed without fear of pulling something off. I used threaded SS metal under the king plank for the bow handle and glued plates drilled for Uflex and classic shifter boxes. I can drill and tap new holes for any additional needs. I also added a vertical plywood strip for support behind the shifter.For pictures, details and a build blog, see teamloewen.com. I took a long rest after attaching the deck, but I plan to complete it soon.
Our boat has a vertical transom. Most power boats have an angled transom, so the OMC motor mount clamp is angled at about 10° from vertical (motor drive shaft). The wedge angle should be one that aligns the propeller shaft parallel with the bottom of the boat, but this angle should be fine tuned for optimum performance based on boat attitude, weight placement and much more.
I experimented with the motor wedge angle by making three (8 3/4″W x 6″H) wedges, 10°, 12° and 14°. The easiest way to measure the angles is to use two long aluminum rulers bolted together through the holes in the ends and measure with a protractor. Use one against the bottom and the other on the cavitation plate above the propeller. I setteled on 12° since it is the max and less can be adjusted on the motor bracket. The limiting factor is the width of the transom mount clamp (2 1/4″) on the motor, anything more that 12° won’t fit.
Another consideration is that when a wedge is added to the back of the transom, a wedge is needed on the front for theclamp screws and motor bolts to create a parallel surface. That distance limits us to a 12° wedge that has a thicknes of 2 1/4″ at the top. I modeled prototype clamp wedges from hardwood and then fabricated them from aluminum block material cut on my table saw with a carbide blade. You will also require wedges on the motor bolts on the transom inside. I can send pictures if you like.
Thrust brackets serve a different purpose than setting the prop shaft angle to the boat. A thrust bracket is used to reduce the stress to the top of the transom and provide support to the bottom of the motor so the transom does not flex. After several runs, I saw some contact of the motor against the transom. I plan to make a thrust bracket, but my temporary fix was to fabricate a small rectangular stainless steel plate for protection. It is 2″ x 4″ and has holes drilled to match the drain plug so the contact area slightly above the drain plug is covered.About the aluminum back plate, I added reinforcement blocks inside the tank where the cockpit sides meet the transom. I also added two vertical large triangular gussets on either side of the transom knee.
RickKeymasterI recently purchased the Tohatsu and ordered all the parts on the list. I also have the Ultraflex box for my OMC motors, but I like the traditional single lever control that Tohatsu uses. I have found that someone that is not used to using separate shift and throttle levers has difficulty a little difficulty with dual controls.
If I had it to do over, I would not have spent the money on the cable harness and parts for the Tohatsu kill switch. I have a nice kill switch mounted in the cockpit and it was simple to wire in the same manner as the OMC motors.Rick
RickKeymasterWow, TK. The ‘ole forum still works!
Great resources! Always looking for parts stashes, thought I had already got to the edge of the internet and almost fell off, mabye it isnt really flat!
Rick
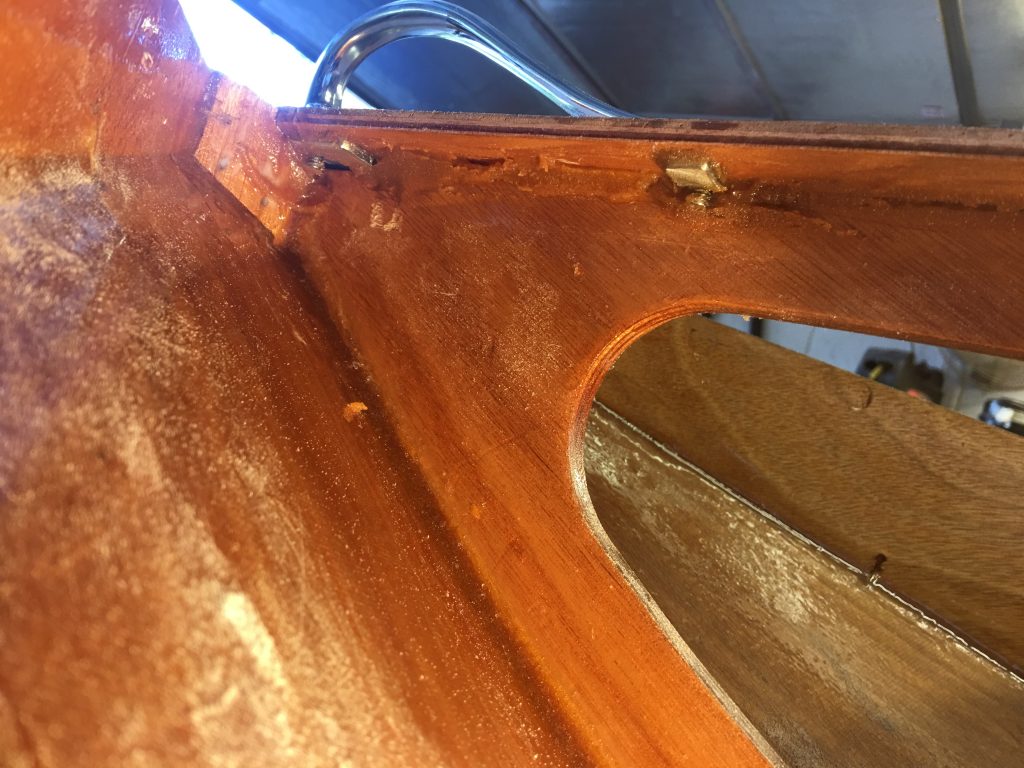
RickKeymasterI used a piece of sapele (same as used on toe rail, carlins, etc.) cut as a continuous gusset the vertical length of the transom knee. You could remove material from the fillet with a rasp and carbon paper for fit. I feel it gave me a very strong joint. The other area I had issues with was the fillet between the cockpit walls and the floor. I was guilty of maybe too much sanding and small fillets and had a fairly bad crack starting after some good “air time” fun. I made similiar strips to reinforce the floor to sidewalls for a good repair.
Here are some photos: https://teamloewen.com/CocktailClass/img_3305/
https://teamloewen.com/CocktailClass/wp-admin/upload.php?item=621
Digging those photos out reminds me how far I am behind on my build blog.
RickKeymasterJust a FYI, the bow handle is from the AMF Sunfish sailboat, a small sailboat that has been around for many many years. Because they are made of zinc, they will not hold up as long as quality stainless steel, but they still do quite well. I’ve seen a lot of old ones, but never seen a broken one!
Rick
-
AuthorPosts