Forum Replies Created
-
AuthorPosts
-
ForrestKing
ParticipantThanks for the tips Marty! I tried to post some more pictures but this forum software is insufferable.
ParticipantWell, the epoxy set up just fine! I always save the cup from the batches of epoxy to make sure that I got a good mix, set and cure.
I started working on the bottom of the boat today. I’m using a door as my work table and it’s great. I put the two bottom halves on the workspace, clipped the copper wire up into “stitches” and grabbed my safety wire pliers.
A nice row of uniform looking stitches.
My wife helped me unfold the bottom of the boat into the cradle. It kept slipping aft so she pushed it forward while I put a few stitches in the bow stem.
ParticipantThis particular forum software is really discouraging!!! I may just move over to the CLC forums.
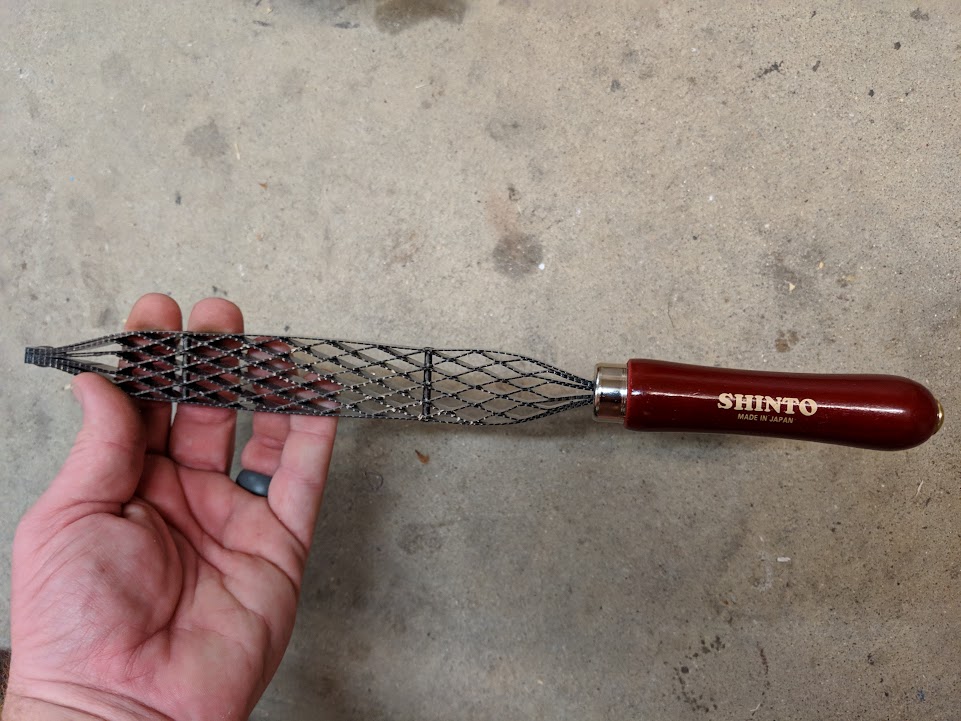
Here’s the Japanese rasp I was telling you about:
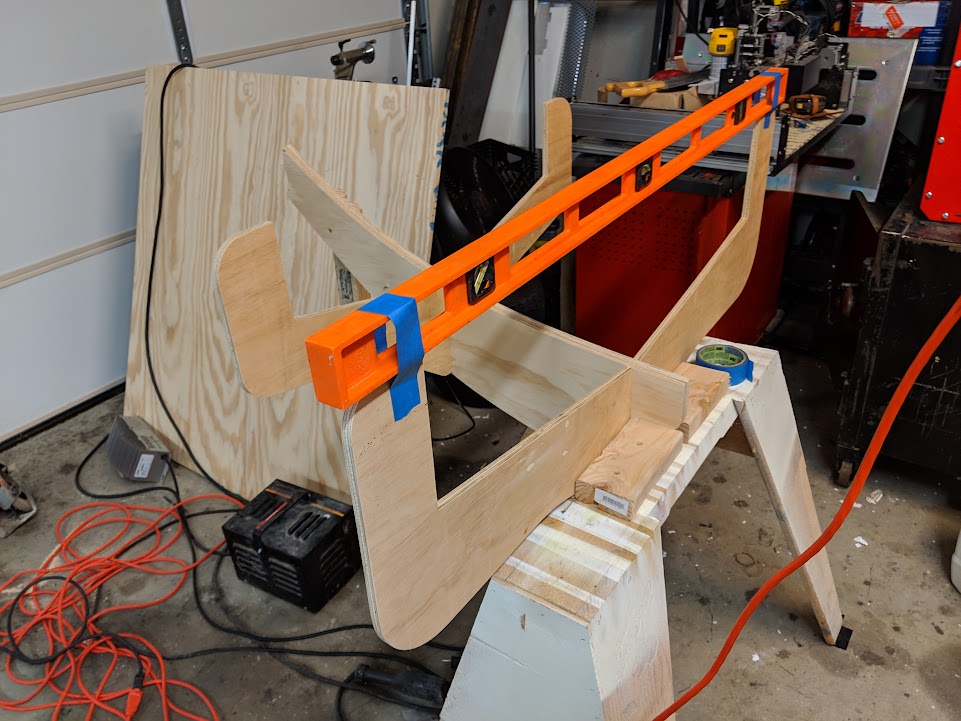
ParticipantToday I built the CLC jig/mold. It’s important to read the instructions to understand what planes should be vertical, parallel, and perpendicular to each other. The first time we assembled the jig I set up the cradles “level across the top”. This is wrong, per the instructions you should set up the cradles so they are level left to right and then plumb!
The inner stem was attached, per the directions. It was necessary to have a drywall screw right perpendicular between the two ineer stem screws in order to keep the spine of the jig from separating.
Once the jig was assembled the instructions progress to the first epoxy job! I laid out the transom, transom doubler, tank sides and tank side doublers.
It was at this point I realized the value in organizing the parts in the order you’ll use them. I had hauled quite a few of the parts into the house to try to reduce clutter in the garage. This worked well, but a lack of foresight meant, inevitably, each piece I needed was the piece currently on the bottom of the pile. I rearranged the stack a few times.
Epoxy was applied with a disposable chip brush. Ratcheting clamps, spring clamps, bricks and brake rotors were added to provide the necessary clamping force while the epoxy sets up over the next 24 hours.
That’s all the progress for today.
By the way, this Japanese rasp is an amazing tool and makes short work of machine tabs left by the CNC router process:
-
This reply was modified 5 years, 1 month ago by
ForrestKing.
-
This reply was modified 5 years, 1 month ago by
ParticipantHave you considered putting all of your pictures into 1 “build thread” for historical purposes? I enjoy your picture posts and would love to see a “quick and dirty” narrative of how you did what you did and any challenges I should look out for! As I start building and posting pictures please jump into my thread and share your experiences.
ParticipantSeptember race in Memphis? I’m in. I also have a child in school, but weekends are free except Sept 21/22. I think we will have our boats built by July 4th, but I’m not sure how competitive we may be for a Sep race. We might be those guys who just show up and eat bbq and try to keep up…
ParticipantWell perhaps I put the cart before the horse…
I’m one of the 4 Wylie, Texas builders and tonight I jumped on a chance to own a 1983 Suzuki 8hp 2 stroke engine for just a little horse trading!
Mine is a 59.5 pounds (we could call it 60, but hey, we could also call it “about 50”.)
I picked it up this afternoon and was told by the previous owner that it had not been run in 11 years (spring of 2008). It came with a 6 gallon tank that had the correct Suzuki connector for the engine and a free gallon or two of decade old gasoline…
I drained the bad gas into my “bad gas can” that resides in the bed of my truck (somebody once stole my lawnmower gas, so now I bait them). I purchased 2 gallons of fresh 87 octane and dosed it up with some Yamalube at about 50:1, and some Sta-bil marine treatment.
I couldn’t help myself at the house. I dumped all of my recycling into the big can and filled the little recycling can with water. The engine sits pretty well on the side of the can when it has 15 gallons of water in it.
I primed it with the bulb, and pulled the cord about 20 times before it putted to life. Of course I shut it off immediately, grabbed my phone, and recorded a video claiming the next start was the “first start”. It purrs, pumps water, and shifts smoothly.
The next challenge is going to be rigging the remote controls – the factory kit appears to have been out of stock since 1984 or so.
March 14, 2019 at 9:23 pm in reply to: Wylie, Texas is home to our newest group build project! #10890ParticipantThanks for the welcome!
Wylie is a suburb of Dallas, to the northeast. If any of you are nearby be sure to say hi!
There are 4 of us who have purchased the CLC kits and we have 2 sets of plans floating around, too, within the group.
CLC has given us an estimated 2 week lead time on shipping the kits; we may be starting our builds right around April 1.
I’m planning a varnished boat with a whimsical cocktail inspired name. I’ll start a build thread once I get the kit and get started.
-
This reply was modified 5 years, 1 month ago by
-
AuthorPosts