
Forum Replies Created
-
AuthorPosts
-
Marty Calon
ParticipantWow, nice collection of clamps! I still have Jeff Weeber’s big box of PVC pipe clamps. If anyone needs them to build a boat, contact me.
You’re making great progress, and the pictures are good. Thanks for posting them.
Jack and I made the same mistake on #150 with the rounded bow. We rounded it too soon. The instructions are misleading about it. Luckily for all of us, epoxy takes care of it, and the deck covers it. In our case, we also filled some other small “unintended” gaps in other areas with epoxy, and the boat has turned out quite well so far.
We also had creases from the fiberglass, which I think will disappear or at least become very much less noticeable when it’s finished.
The seat is a great idea. I’m going to consider that too.
ParticipantOver the winter, in the house, I epoxied the steering hub and the wood washer. I also used some wood-flour epoxy mix to fill some small damaged areas in the floor of my nearly 100-year old condo. While the repair to the brown pine floor is visible, it looks much better than the deep gouges that were there.
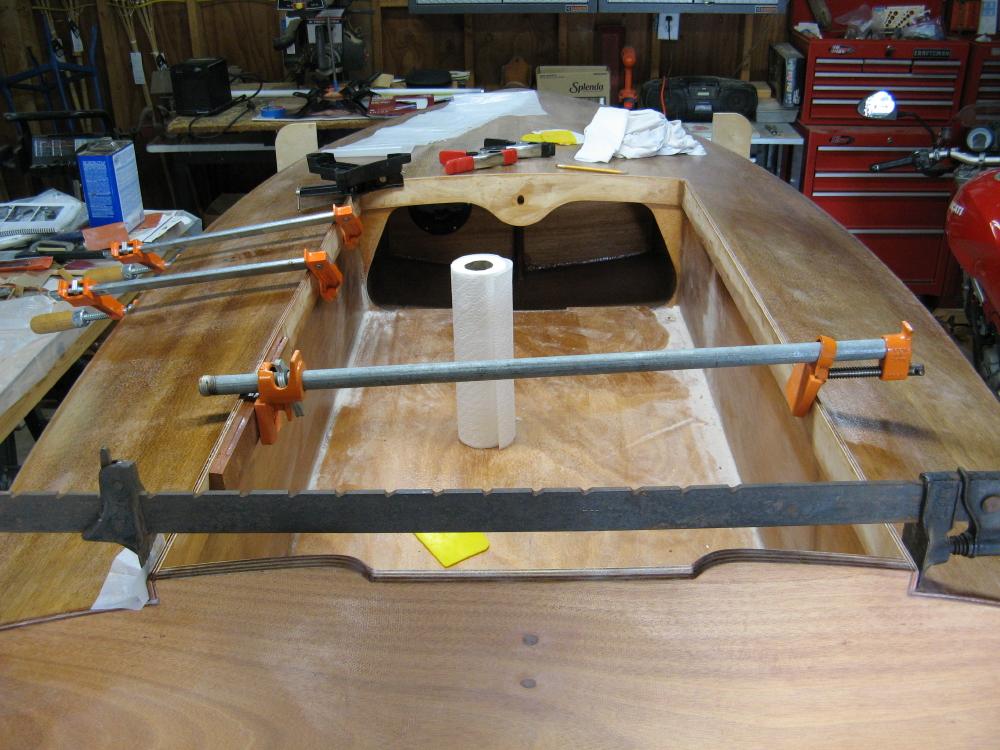
Last week, we applied the second coat of epoxy with foam roller (and brush in the corners and small areas) to the inside of the cockpit, the deck, and the outside rails, except the bottom of the rails. This went gratifyingly quickly, compared to the excruciatingly tedious process of filleting.
I’ll take a few pictures soon, but the boat doesn’t look much different, now that physical construction is finished. We’ll continue with the additional coats of epoxy over the next few weeks, then serious sanding starts, to prep for the paint and varnish. I borrowed an orbital sander, and I have a shop vac to connect to it to reduce the dust.
I think that the deck looks good enough to varnish it and the rails, the rest of the hull will be painted. We’re not sure yet about the interior.
ParticipantThe other essential tool is the Japanese pull saw.
Use doubled wire, larger wire, or steel wire in the front area when you pull the bow together. The stress will be enough to break some of your stitches if you don’t. We didn’t do this, ended up dealing with breaking stitches and drilling multiple extra holes to eventually pull it all together. Next time, if there is a next time, I’d use larger copper or double the kit wire.
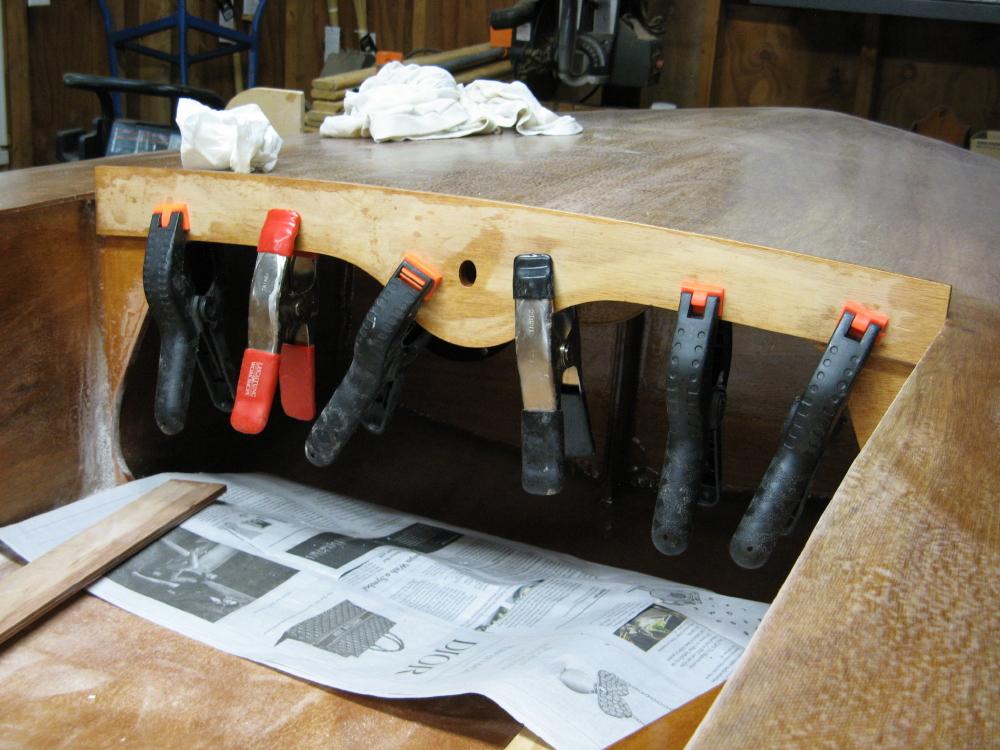
One thing we did correctly, or at least seemed like a good idea, was to examine the parts prior to assembly and epoxy some of them BEFORE assembly. For example, the backs and bottom edges of the coaming strips, and some of the pieces that form the steering braces.
ParticipantReceived an e-mail today that the first group of Tohatsu motors is in.
March 18, 2019 at 3:27 pm in reply to: Wylie, Texas is home to our newest group build project! #10895ParticipantWelcome, Texas!
Remember to cut the keels 12 inches short of the transom, per the new rules. I don’t know if the CLC instructions have been updated.
Terry’s build threads have great pictures and comments. He obviously knows what he’s doing.
My build thread is wordier, but it does have some hints and comments that should be useful, and shameful descriptions of some mistakes we made along the way.
The kit manual is good but not perfect, and you’ll have to improvise and modify in a few places. Be sure to constantly read ahead in the manual so you know what’s coming and can decide if the described sequence of events works for you.
ParticipantWe spoke with Dave Searle at Annapolis Inflatables this morning, and had a look at the motor. We are the fifth order on the CCWBRA list, so it looks like the group purchase will happen.
The motor has a tilt adjustment. I wonder if that means we won’t have to deal with wedge blocks?
February 13, 2019 at 2:02 pm in reply to: Fiberglass on bottom and sides with first coat of epoxy on #888. #10745ParticipantLooks like someone has a heated shop! We’re waiting for spring.
ParticipantYes, notes will be important. We’ll consult with others and probably knock out a few wedges of varying angles to experiment, when it gets to that point.
ParticipantYes, not much action on the forum, but I post anyway because our experience might be helpful to others.
We’ve “hung out” at a few races and found the other members, as you state, to be very friendly and helpful. There’ll be more of that next season because we’ll finally finish the boat then. We’ll especially need motor purchasing and motor mounting advice, angle of the wedge and all that.
We’re fairly handy and capable with mechanical things–I do almost all of my own motorcycle work–so no worries there.
ParticipantSounds good, that will be interesting to see.
We’re rank amateurs in the boat building business, so we have to go with the path of least resistance. Hopefully we’ll get some more responses here about steering systems.
By the way, the threaded rod is also an easy, loose fit in 1/2-inch PVC electrical conduit. I conveniently happen to have a piece of that in my garage.
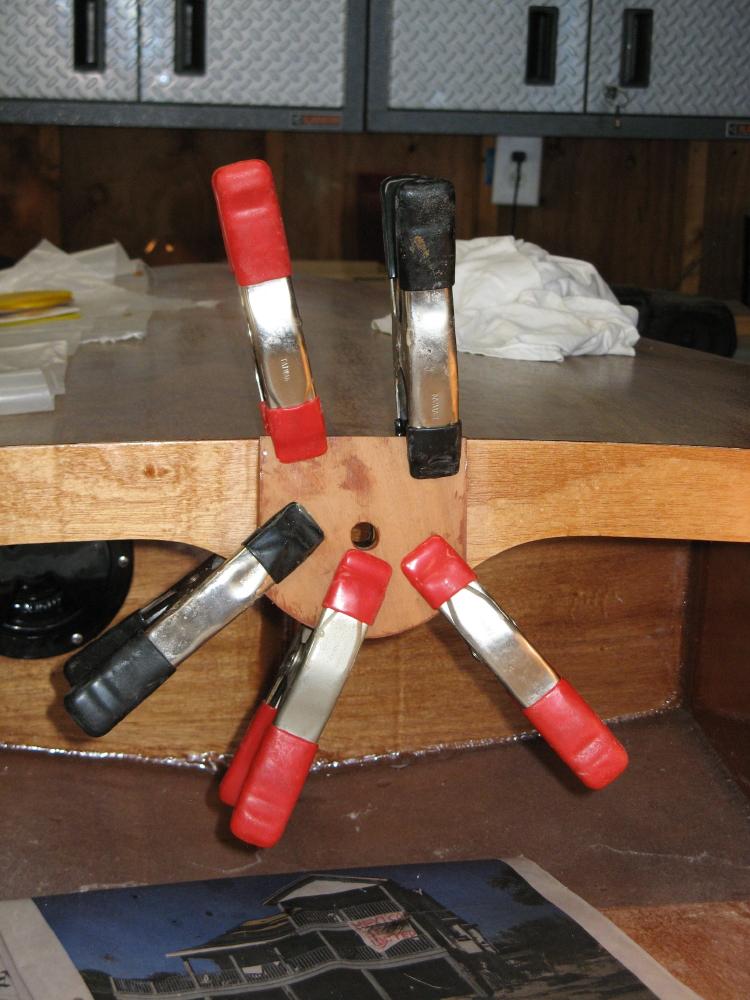
ParticipantSome end-of-season odds and ends.
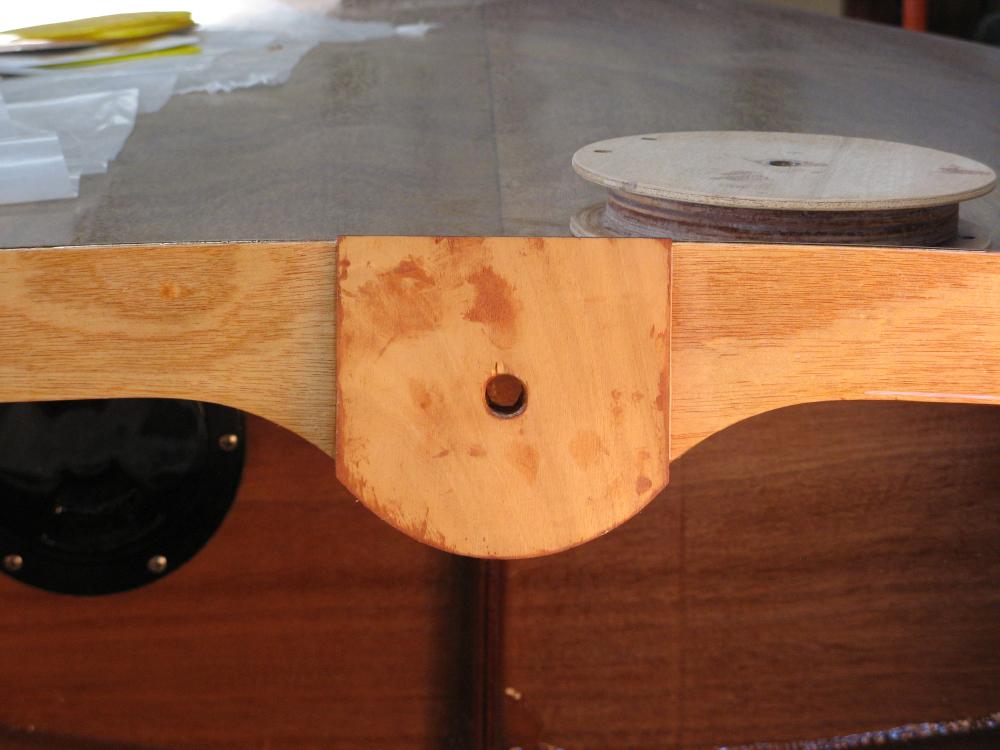
Steering wedge epoxied in place:
You might be able to see below that the top edge of the wedge sits proud of the coaming a little bit, because it’s aligned on the hole and the bottom edge. I sanded it flush after the picture was taken:
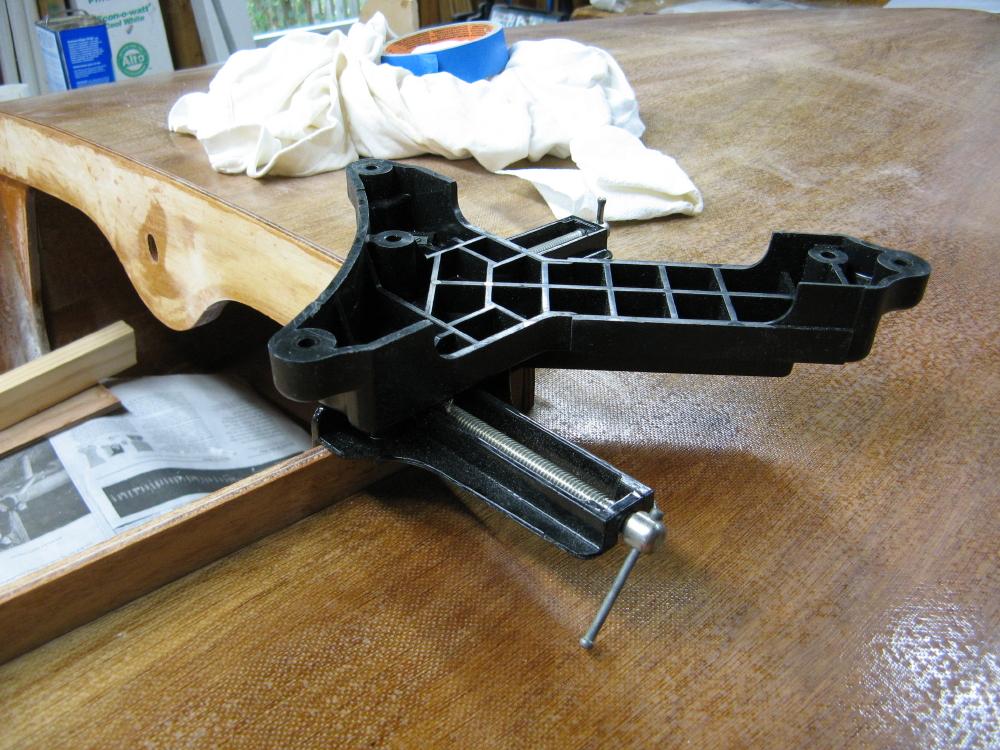
Steering pulley was assembled as a side job whenever leftover epoxy was available:
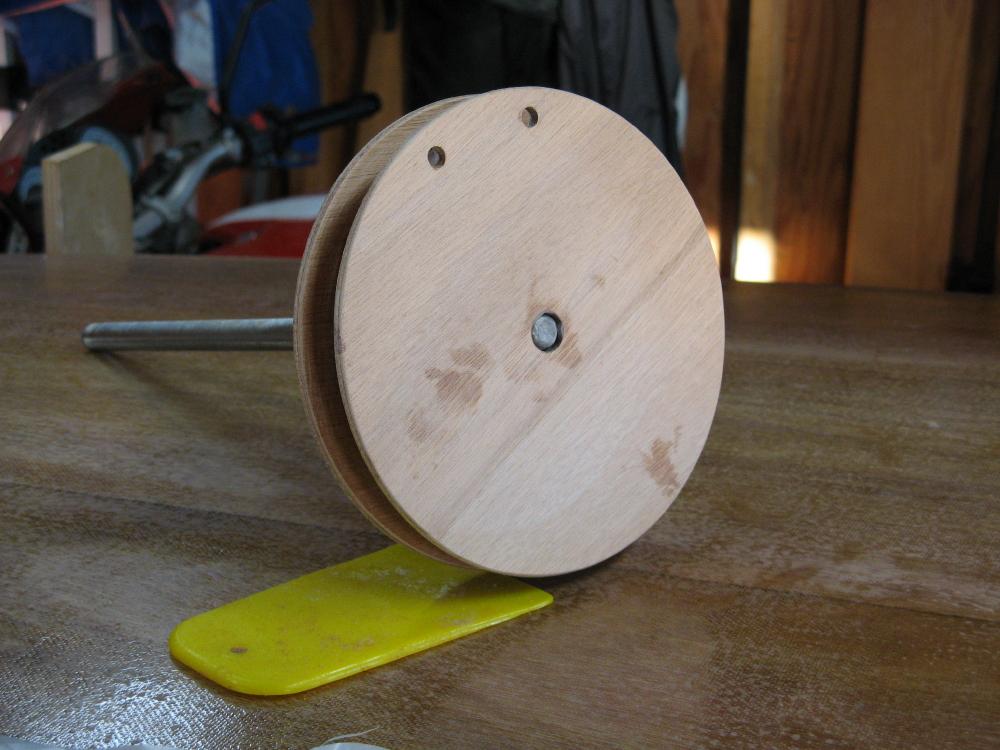
Some advice about this piece: It’s a good idea to use the threaded rod, covered in the relevant area with a single layer of masking tape, as a handle and alignment tool for assembling this, as the manual suggests. However, once assembled, with four spring clamps holding it, set it on a flat, level surface and carefully twist out the threaded rod, being sure to not disturb the alignment. If the rod is left in while the epoxy sets, it’s harder to get out, in spite of the masking tape.
I built this piece in two phases, because I was using leftover epoxy from other work. This also made it easier to coat the edges of the inside layers with epoxy, before attaching the second outside piece.
That’s it for the season. The epoxy construction part of the boat is finished, but there’s still much finishing and hardware work left. We’ll get in there one day when the weather is amenable and do a big cleanup of the work area, in preparation for resumption of work in the spring.
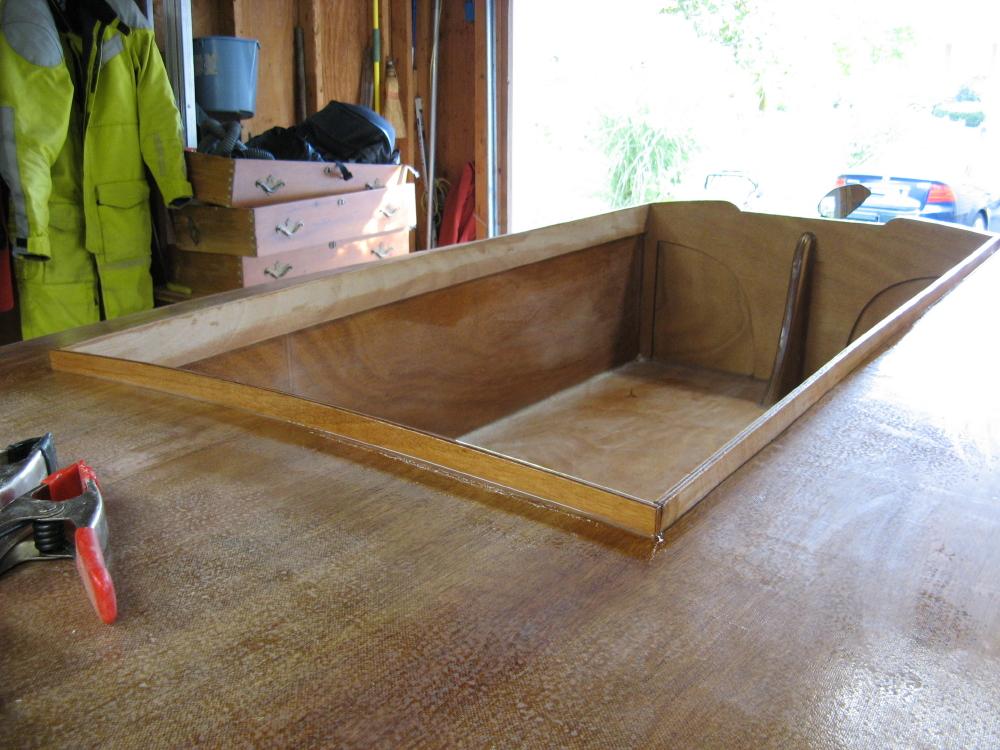
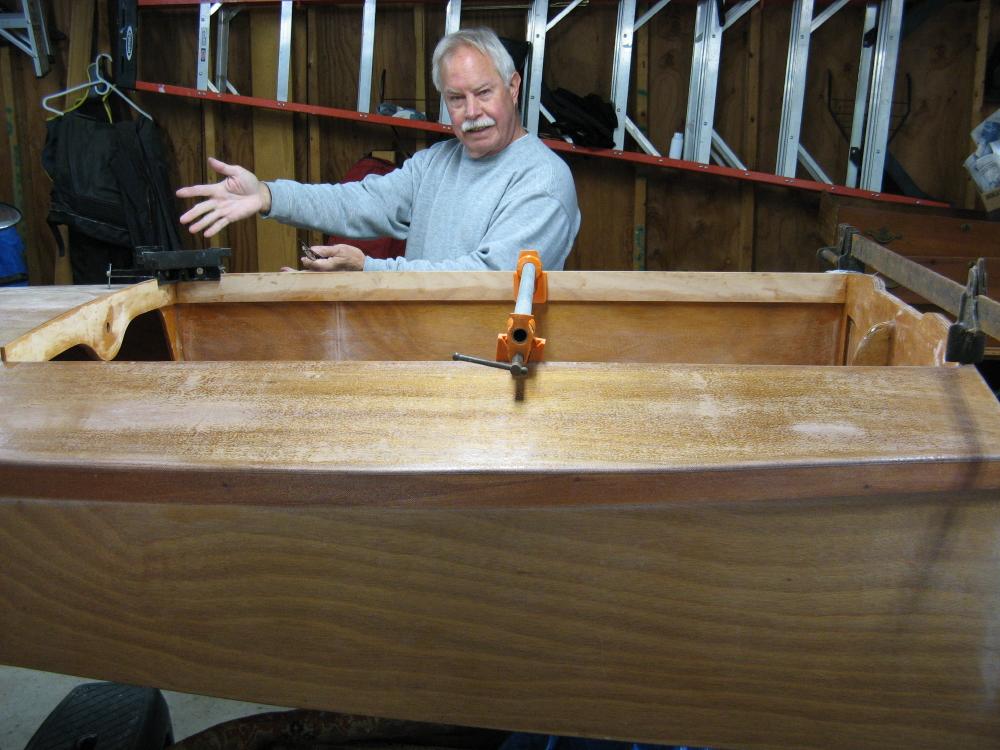
ParticipantGood idea to see how the cockpit rails fit before the deck goes on.
This is also a good time to fit the cockpit floor, so it’s ready when the time comes to install it.
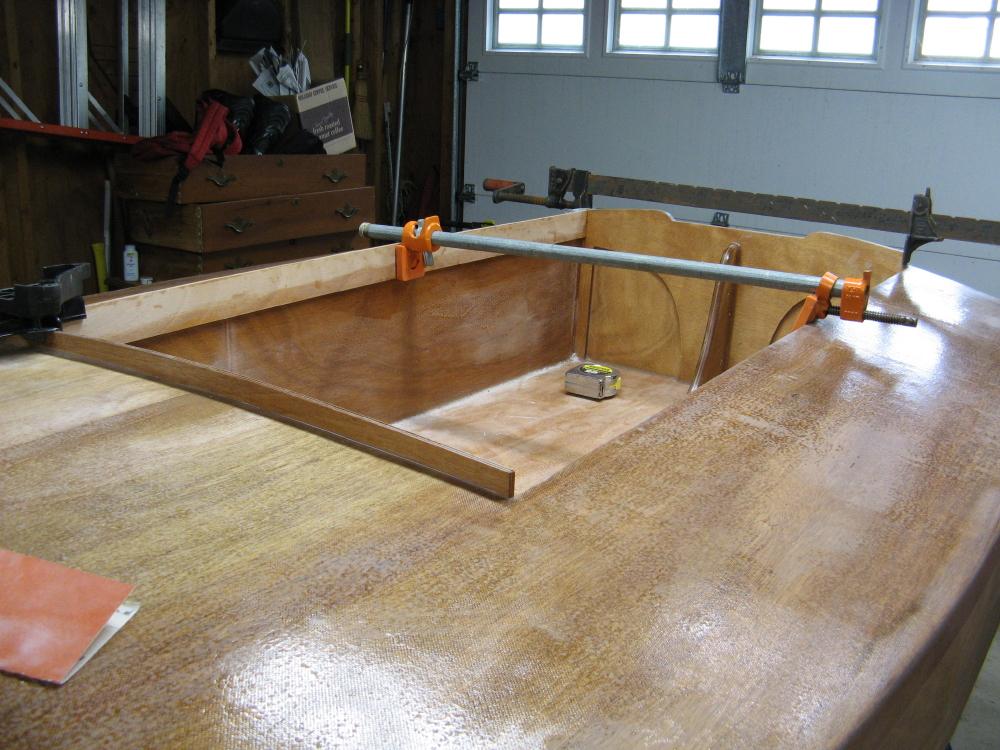
ParticipantWe had a bit more weather that was barely warm enough for epoxy, so gave up Rock Hall Oktoberfest last saturday and stayed in Baltimore to install the left side cockpit rail.
Here’s a shot of the 3/16-inch gap that we filled on the right side, after the epoxy tacks at front, middle, and back had set. We pushed in thickened epoxy from above until it came out the bottom, then cleaned up:
We used a lightly-applied clamp after the gap was filled because the rail bowed out slightly at one point near the back. The end result was straight enough:
The left rail went in, again with upside-down corner clamp at the front, several other clamps, and epoxied wherever it made contact. The alignment didn’t end up quite as well as the right side, but it’s serviceable and certainly better than if we had just followed the cockpit sides.
We ended this phase by putting small fillets on the four inside corners, and along the side rails between deck and rail. These seal the top of the joint to allow for pouring unthickened epoxy into the remaining narrow gaps behind the rails after we turn over the boat to coat the hull. (Picture below is before left fillet was applied.)
Installing these rails involved much more work and multiple epoxy sessions than should have been necessary. Lesson learned: Check and measure the alignment of the cockpit sides carefully and make sure that they stay straight and aligned as the boat is assembled.
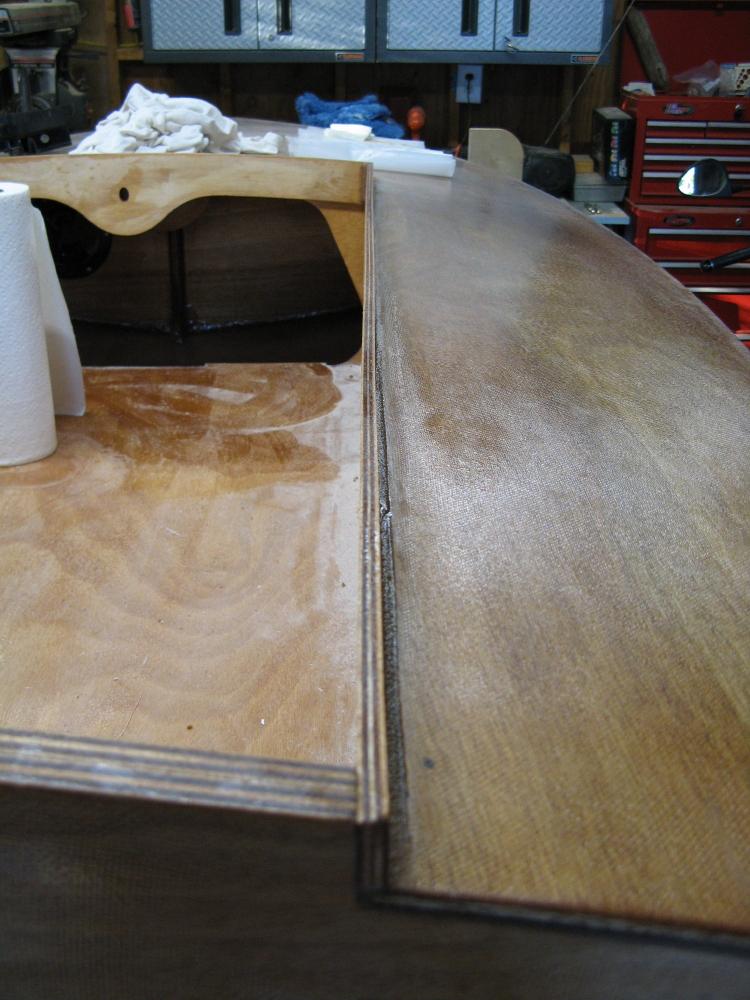
With a few minor exceptions, epoxy construction is now finished. When we have more warm weather, we’ll start coating the cockpit, deck, and hull with epoxy. Almost all of that already has a first coat and a light sanding to knock down the nubbins.
ParticipantTemps right now are in low 60s to 50s for highs, and 40s to low 50s for lows, a bit cooler than it usually is at this time of year in Central Maryland.
As I understand it, the epoxy should not go below 60 degrees, not sure for how long after it’s mixed and while it sets. The garage is free-standing and uninsulated, so it doesn’t hold much heat when the weather gets cooler. Jack can goose it into the 60s with a space heater when it’s in the 50s outside, but he justifiably doesn’t want to leave it on unattended, with a gallon jug of acetone and two motorcycles in there.
Jim tried a kerosene heater in his garage when we built the kayak, but apparently the residue from its combustion had a negative effect on the epoxy, so he stopped using it.
If anyone has comments about ambient temperature and using epoxy, I’m interested. I was hoping for a few more weeks of warmish weather to finish the rails and put two coats of epoxy on everything, but it doesn’t look good for that right now, unless we get a lovely warm spell.
ParticipantTemperature right now is too low for epoxy. I hope that we have a warm spell before the cold sets in so we can get some more work done this season. In the meantime, this is what we got done through yesterday.
Fiberglass has been trimmed and sanded around all the edges and the deck surface has been sanded lightly all over and wiped off.
The three rail (or coaming) pieces have been previously “primed” with epoxy on all the edges and on the surfaces that will be attached, then lightly sanded and wiped off.
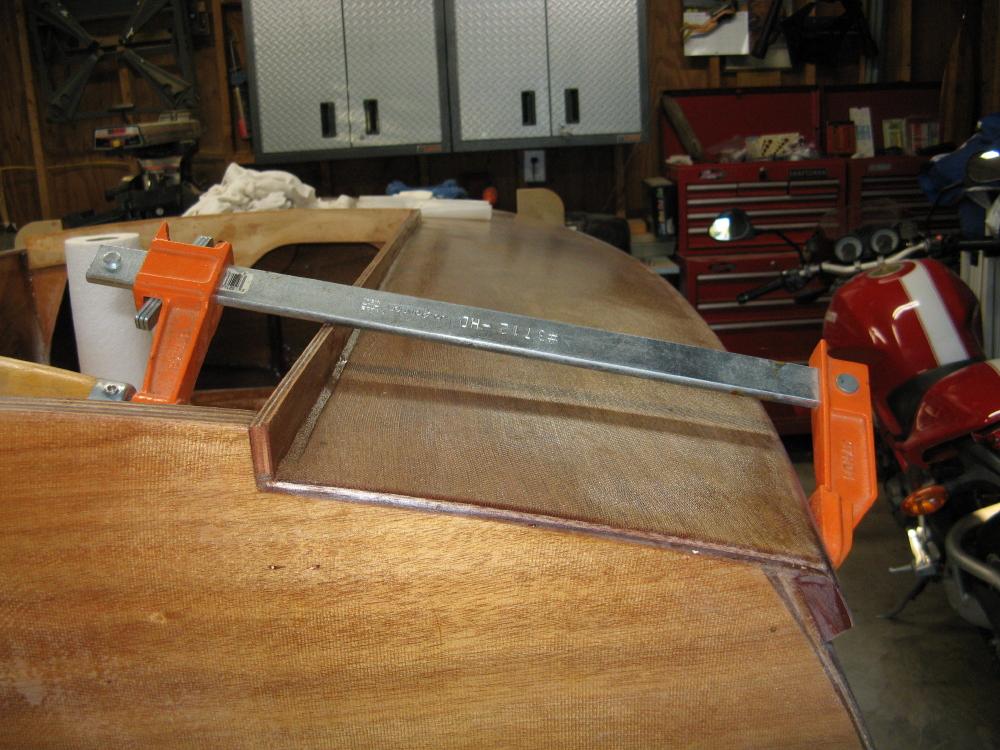
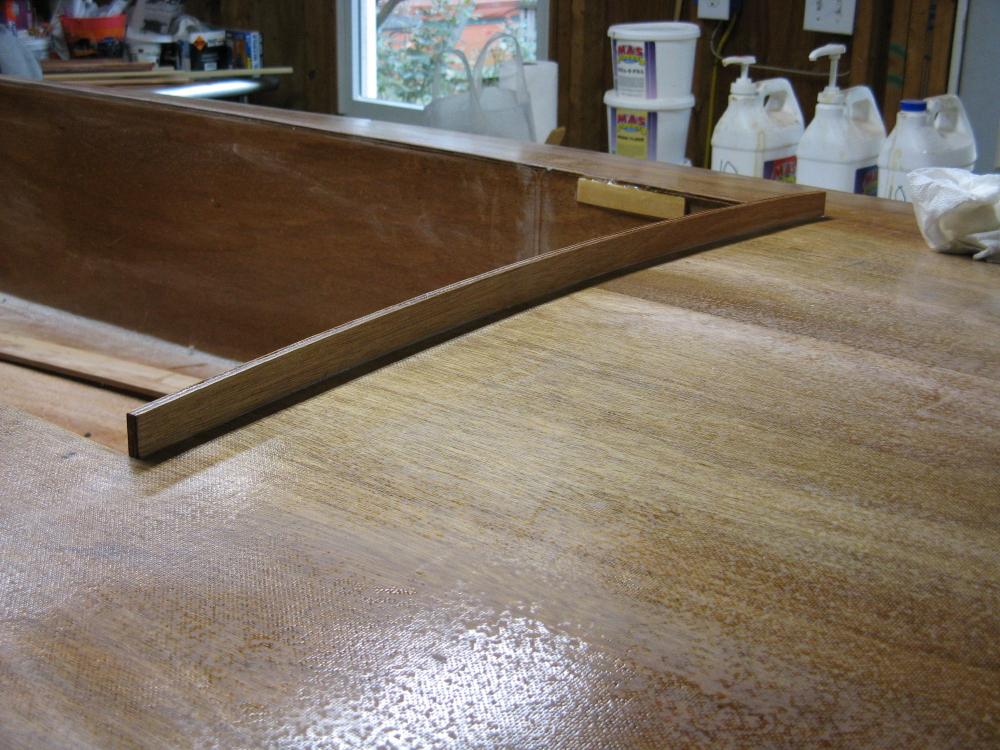
Front cockpit rail was installed. It’s aligned on the steering hub hole, which leaves it projecting above the deck by 3/4 inch, so the side rails were trimmed to the same height on their back ends, where they “hang” on the transom.
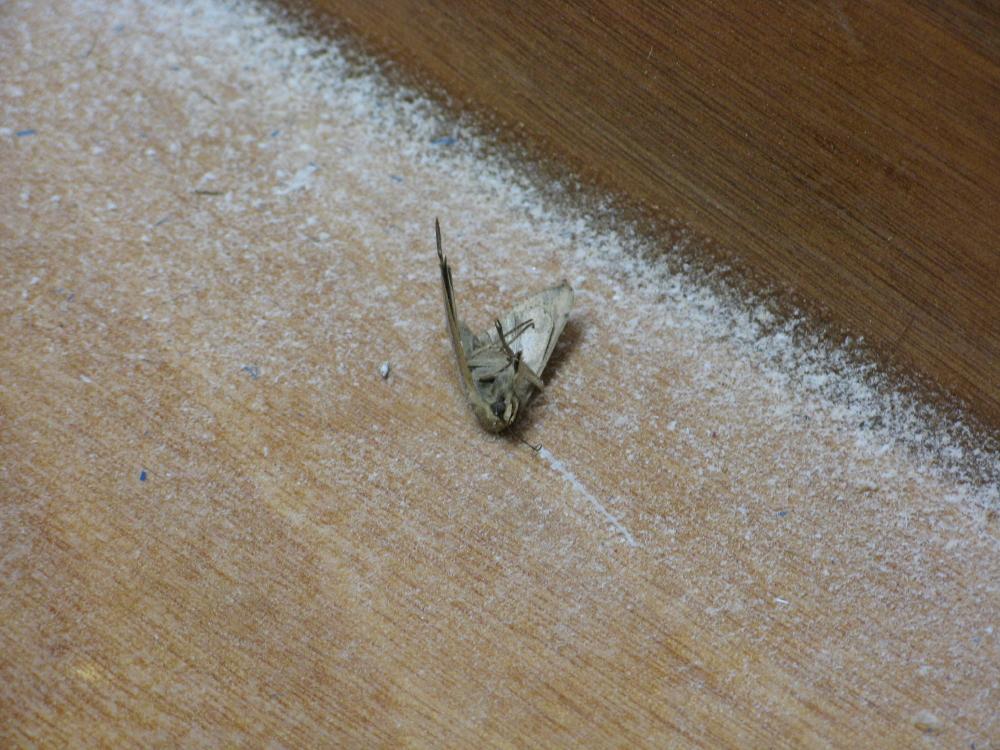
An unexpected visitor dropped in:
Right rail was tacked in with thickened epoxy at the front, center (where it touches the cockpit side) and rear at the transom. We used no screws, an ancient bar clamp at the rear, a modified pipe clamp at the center (to push out), and an upside-down corner clamp at the front. The corner clamp was susceptible to getting out of alignment, so we had to watch it carefully and adjust as needed until it was all where it should be.
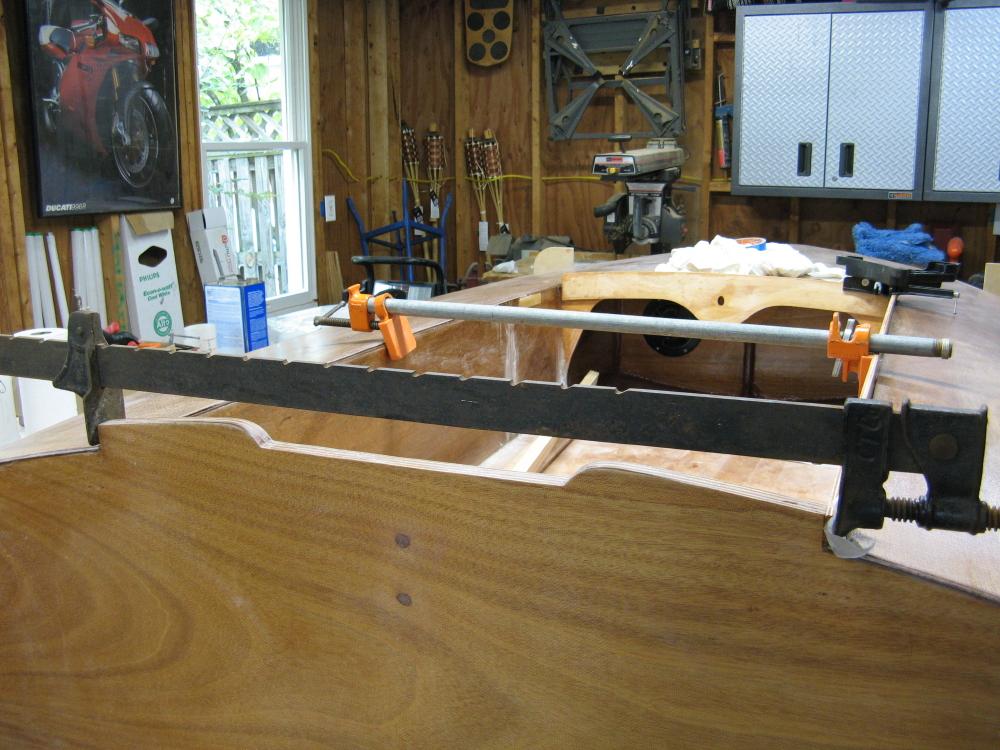
I have mentioned that we did a bad job of aligning and keeping straight the cockpit sides during the early stages of construction. I also didn’t do a very good job of trimming the deck to where the edges should have been. We’re working around that, and the rails will end up where they should be.
For this rail, we have to fill gaps between the rail and the cockpit side in front and back; the middle of it is flush with the cockpit side and is already attached at that point. The photo below shows the 3/16-inch gap at the back; the deck was cut back flush with the cockpit side. I filled this gap yesterday from above (no picture) with wood fiber epoxy mix, after the epoxy tacks from the day before had set. I used a 4-inch spreader to push the mix into the gap until it emerged at the bottom, where I removed excess and smoothed it with my finger, and checked the straightness of the rail.
I also put a small fillet along the outside of the rest of the rail because the front gap will be filled (later) with liquid epoxy when the boat is turned over to coat the hull; this fillet will seal it (I hope), and the liquid epoxy should flow into any remaining gap behind the rail.
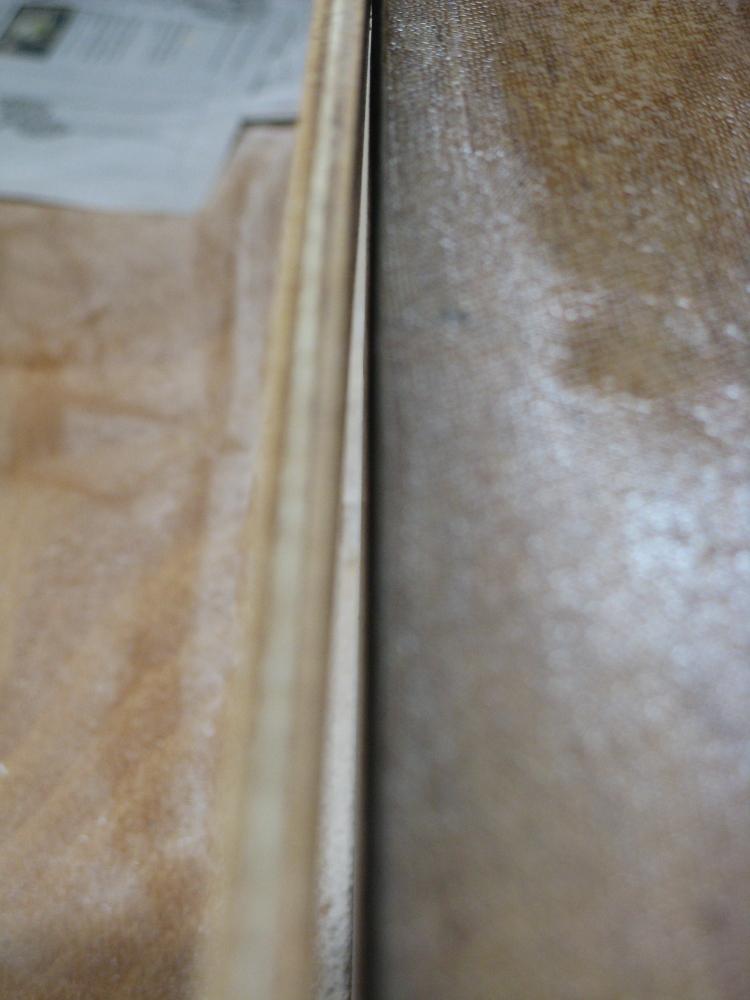
At this point, the rail is as straight as it needs to be for aesthetic purposes. I’d like to get the left rail installed soon if the temperature cooperates. The rear half will attach directly to the cockpit wall as it should, the only gap to be filled will be in the front.
-
AuthorPosts